
Avaya Soft Phone Guide
Avaya one-X Communicator is an application that will allow you to send and receive phone calls from your campus extension, using your computer. You may hear this referred to as a “soft phone.”
Quick Info:
- Highline Network domain is 10.54.26.150
- Download Avaya one-X here
In order to use this application, you will need to:
- Install the Avaya one-X Communicator application on the computer you want to use to access the Highline campus phone system.
- Configure Avaya one-X Communicator with our campus settings, following the instructions below.
- Use Avaya one-X Communicator to answer and place calls the same as if you are sitting at your desk.
There are a few things to note regarding using this soft-phone application:
- You must be connected to Highline’s Virtual Private Network (VPN). VPN instructions can be found here.
- The Avaya one-X Communicator application needs to be installed on the computer you are using (not on your office computer).
- There are configurations that must be done on the back-end of the phone system to allow you to use this method of answering your campus phone remotely
- You will be assigned a PIN specifically for this soft-phone access
- A USB headset is recommended for best voice and sound quality. You will want to check your device to confirm which type of connectors you have available for headsets to plug into.
Installation Instructions
Step 1
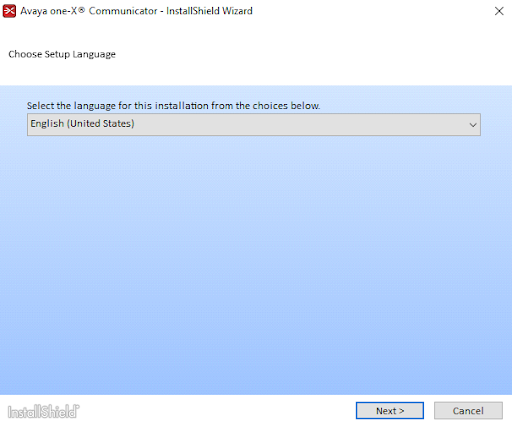
Launch the Avaya One-X Communicator – InstallShield Wizard.
- Once the application installation launches, you should see the Language Selection screen.
- Click on the “Next” button.
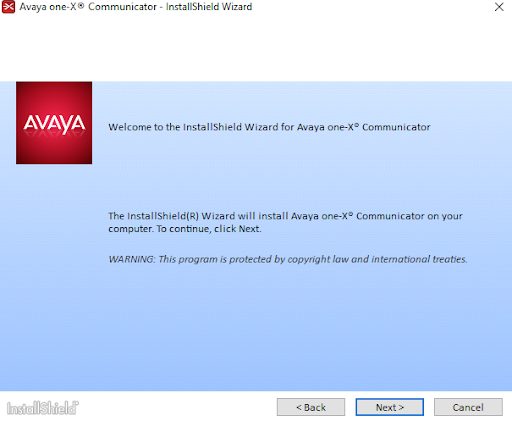
Step 2
Click the “Next” button to begin the InstallShield Wizard.
Step 3
Choose the “I accept the terms…” option and click the “Next” button.

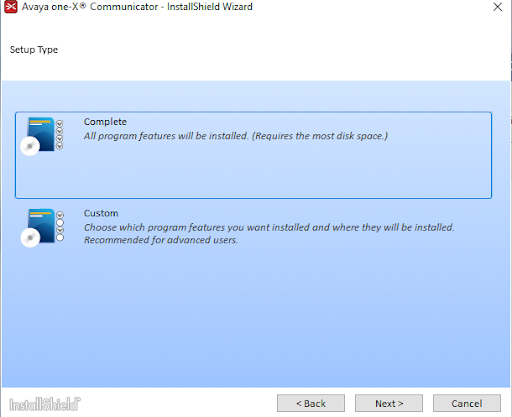
Step 4
Setup Type: Select “Custom” and click the “Next” button.
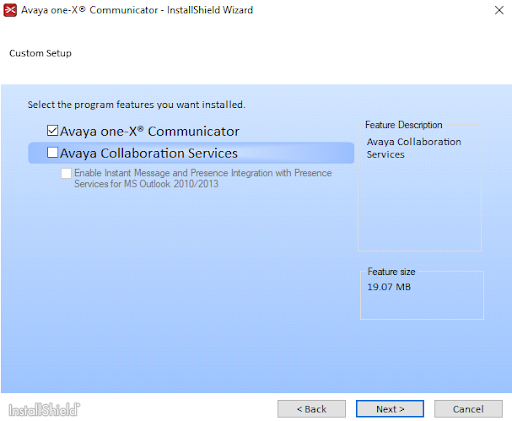
Step 5
Uncheck “Avaya Collaboration Services” and click the “Next” button.
Step 6
Click the “Install” button.
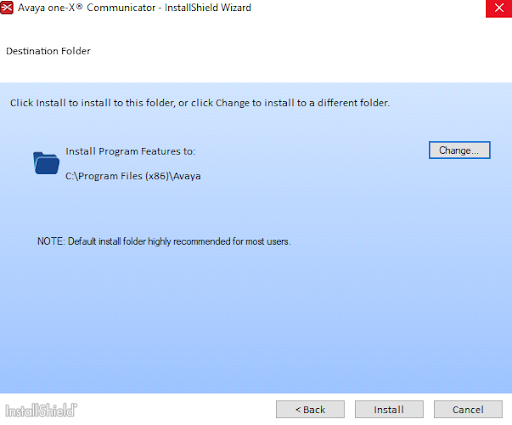
- Afterwards, you will see a window that shows the progress of the installation
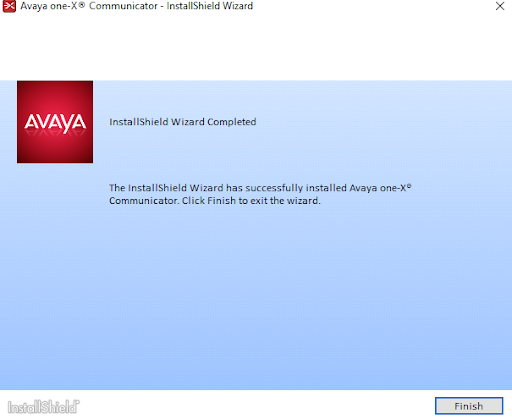
Step 7
Click on the “Finish” button.
- This will close the window and end the installation process.
Getting Started with Avaya One-X Communicator
Step 1
Open Avaya one-X Communicator from your start menu or your desktop.
Step 2
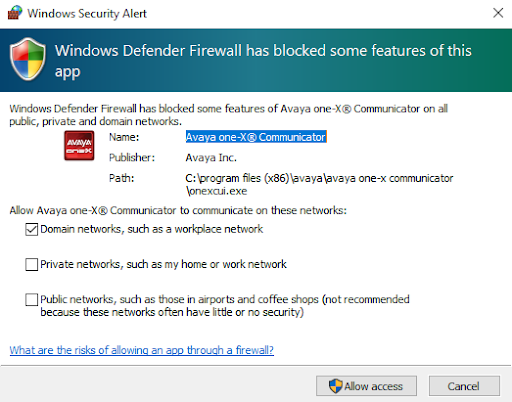
If Windows blocks Avaya one-X Communicator from opening:
- Check the “Domain networks, such as a workplace network” box.
- Click on the “Allow Access” button.
Step 3
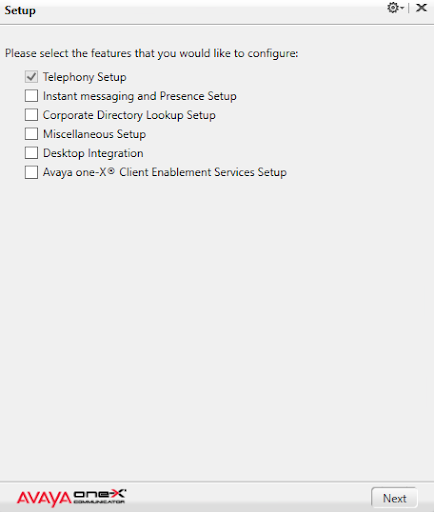
Make sure the “Enable Emergency Call Handling Feature” is checked and click the “Next” button.

Step 4
With the “Telephony Setup” box checked, click the “Next” button.
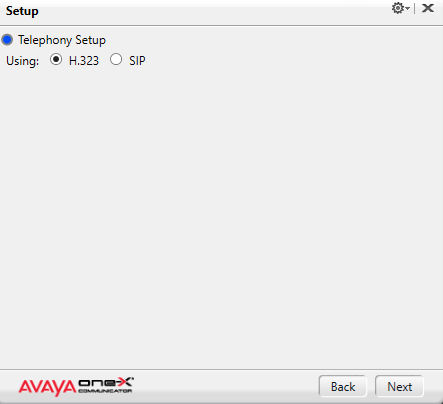
Step 5
Select the “H.323” option and click the “Next” button.
Step 6
Enter your extension and the password you were provided for the Avany soft phone.
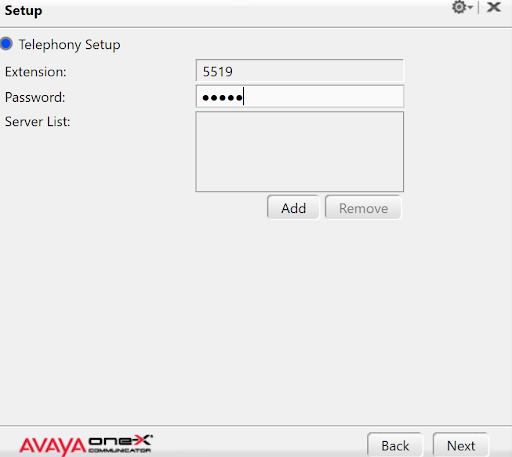
Step 7
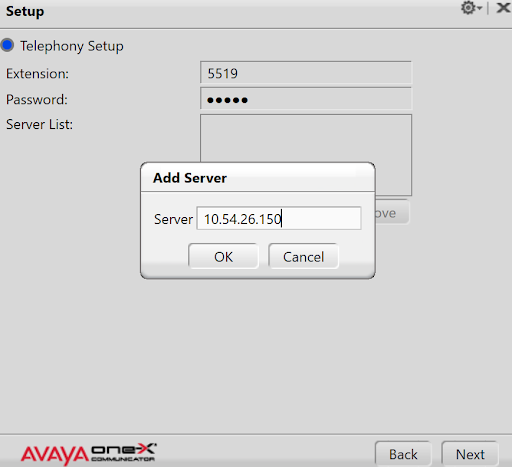
Click on the “Add” button under the Server List dialog box. The “Add Server” window will pop up.
- Type in: 10.54.26.150
- Click the “OK” button to close the popup window.
- Click on the “Next” button.
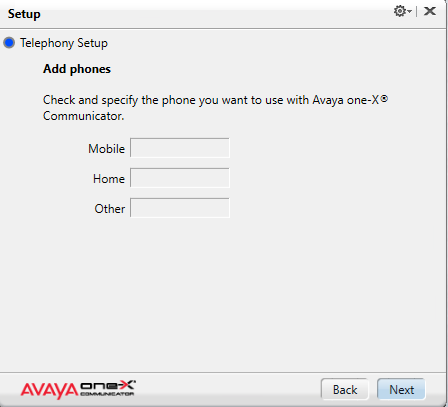
Step 8
The option to “Add Phones” will come up, but leave this blank and click on the “Next” button.
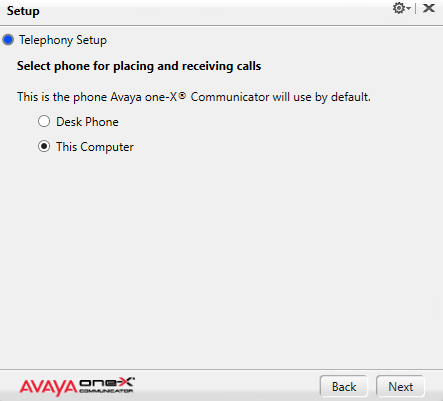
Step 9
To select phone for placing and receiving calls, select the “This Computer” option, and click the “Next” button.
Step 10
You must leave the “Enable Emergency Call Handling Feature” checked or the application will error out.)
- WARNING: DO NOT USE COMMUNICATOR TO CALL 911, the location information will appear to be from campus.
Step 11
This concludes the Avaya One-X Communicator setup. Click the “Finish” button.
Using Avaya One-X Communicator
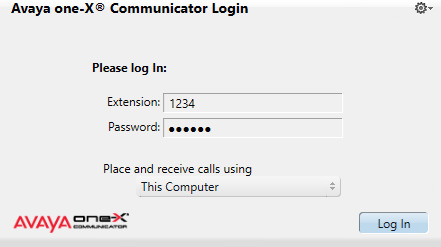
Step 1
Open Avaya One-X Communicator
- Enter your extension and the password provided to you.
- Click on the “Log In” button.
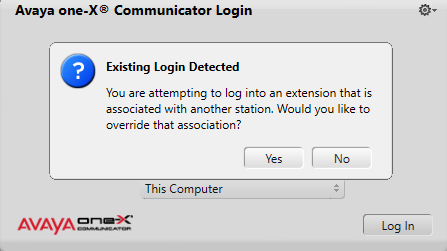
Step 2
Avaya One-X Communicator will now attempt to log into your extension. Clicking “Yes” will override the extension and allow you to control it on your computer.
- Click the “Yes” button.
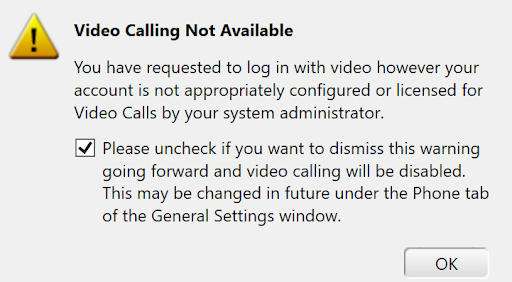
Step 3
Uncheck the video calling box
- Click the “OK” button.
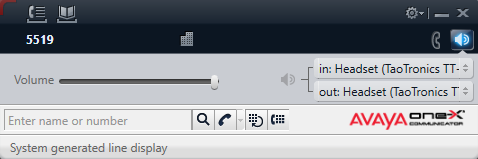
Audio Settings
Note: A USB headset is recommended for best results
- Communicator will automatically select an available microphone and speaker.
- You can choose your preferred device by clicking the blue speaker icon on the top right, then clicking the dropdown boxes to view and selecting your available devices.
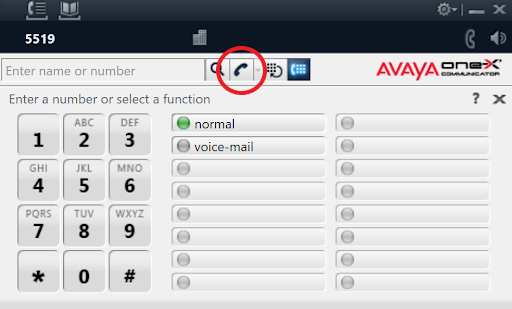
Making a Call
Step 1
Click the Dialpad icon (circled here in red).

Step 2
To place a call, click the handset button (you will hear a dial tone) Click the number you wish to dial.
- Note: All campus dialing rules apply: 4 digits for campus extension, dial 9 first for outside calls, etc.
Other Buttons on the Main Screen
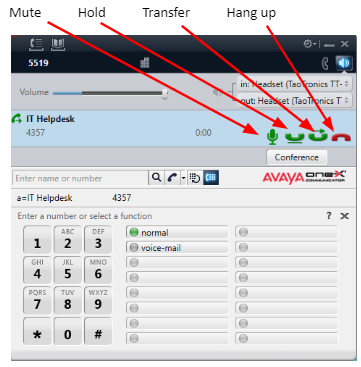
-
Questions?
- Please contact the Help Desk.