CIS VPN Global Protect Connection Guide
Guide to installation of CIS VPN for Windows, Mac, and Linux.
Instructions
Step 1
Go to the CIS VPN Download Portal
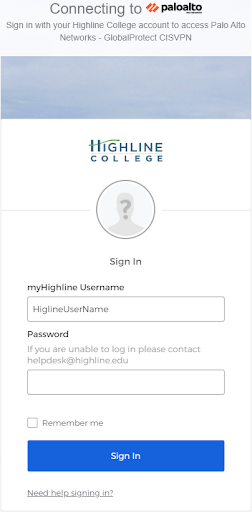
You will be directed to Highline’s Okta Login page. Sign in with your highline credentials.
Step 2
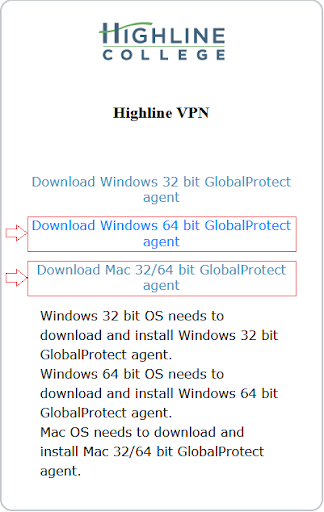
Once you are logged in you will be prompted to download the relevant Global Protect version for your specific operating system. To download the Linux version use the link provided in this document.
Select the download for your operating system. Instructions for each are below.
Windows OS – Installation
Step 1
Once you select your download, you should see it download or you will be prompted to save it. Once it is downloaded and saved, run the application.

Step 2
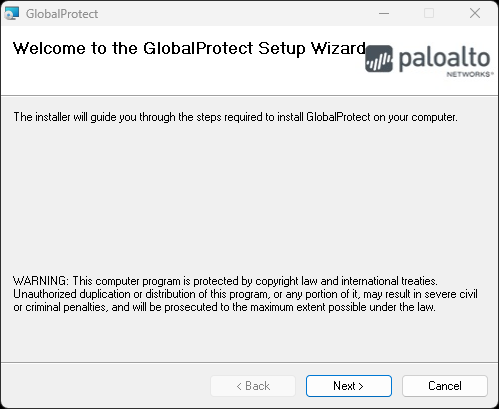
After running the application, you will be prompted to go through the installation process. Follow all the steps to complete the installation and install Global Protect to your PC.
Step 3
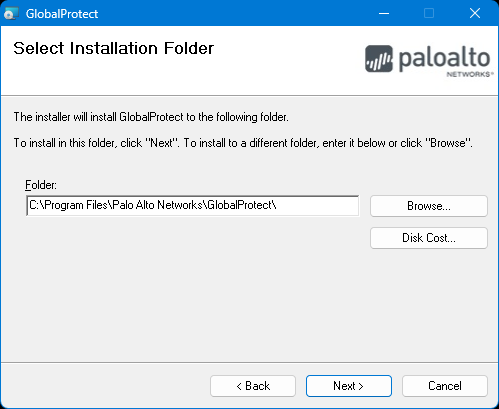
Select the location where you would like to install the application and press “Next”
Step 4
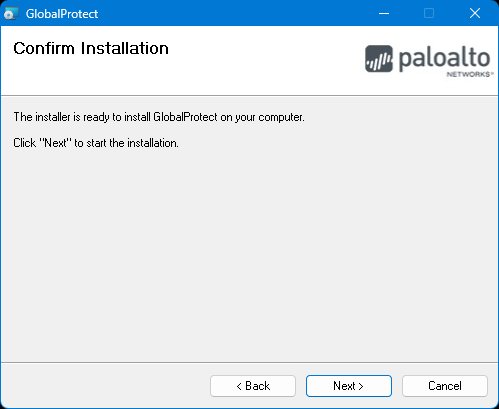
Press “Next” to confirm the installation of the application
Step 5
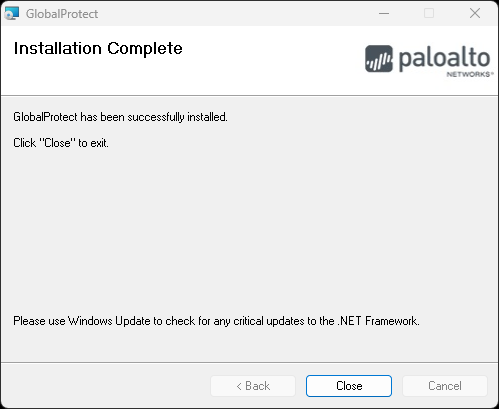
Once the installation is complete press “Close” to close the dialog box
Windows OS – Connection
Step 1
Once the installation is complete in Windows navigate to the application now installed on the computer.
The installation should be under the start menu in windows and then under the “Palo Alto Networks” folder.

Step 2
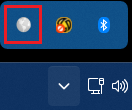
Once you launch the application go to your taskbar and click the grayed-out icon Palo Alto VPN Icon
Step 3
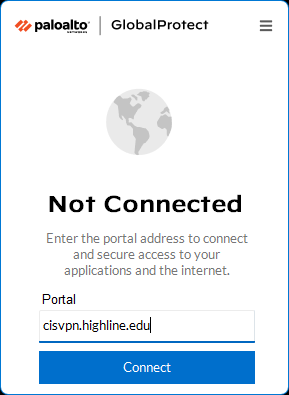
If installing and connecting for the first time you will need to add the VPN address and will be prompted with a welcome dialog. Select ‘Get Started’ to progress to entering the VPN address

Step 4
Enter the CIS VPN address “cisvpn.highline.edu” and press connect to continue to the VPN login prompt
Step 5
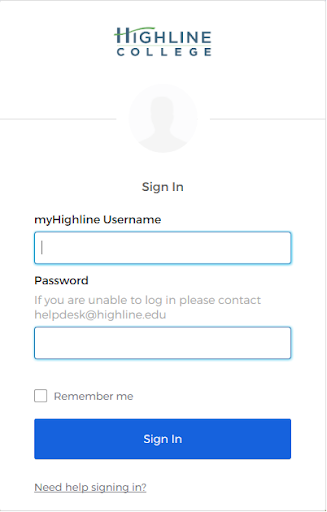
Once you are prompted to enter your Highline credentials enter them into the Okta authentication dialog box and select “Sign In”
Step 6
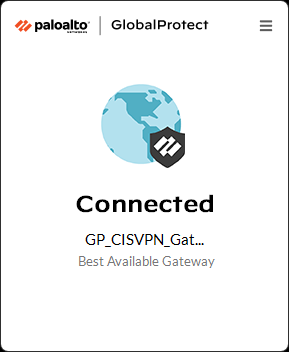
Once you complete the sign in the VPN will connect and if successful you should see the Globalprotect Icon listed as connected.
Step 7
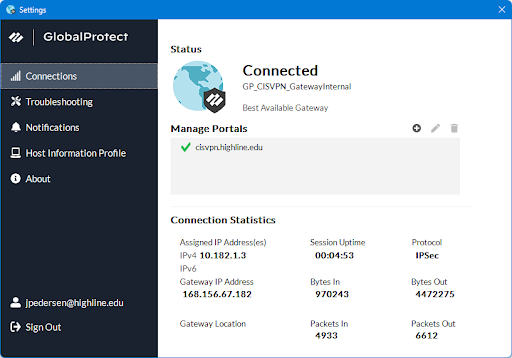
You can test your connection by selecting “three lines” and checking the “settings” option: the connection address you were assigned the public address should be displayed. You can also verify you are connected to the CIS network by Pinging the CIS DNS server (10.129.0.5).
Step 8
You will now notice the following icon in you taskbar if you are on windows
The icon (on the far left) will look grey when it is in a disconnect state

The icon will look light blue when it is in a connected state

Step 9
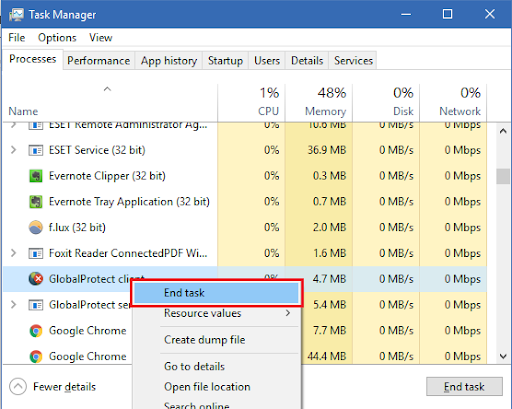
Ensure that you are not connected to the CIS VPN when you are not using it. The application will remain running when not in use. If you wish to close the application you must do so by shutting down the process in task manager by right-clicking, and selecting “End Task”
Mac OS – Installation
Step 1
After running the application, you will be prompted to go through the installation process. Follow all the steps to complete the installation and install Global Protect to your MAC.
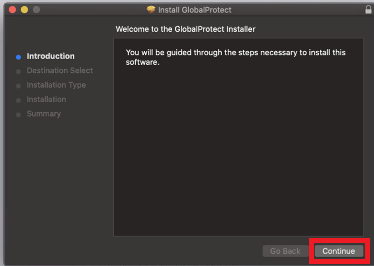
Step 2
Depending on the installation you will be promoted to upgrade or install the application. Once the desired installation method is selected proceed to the next step by selecting Continue.
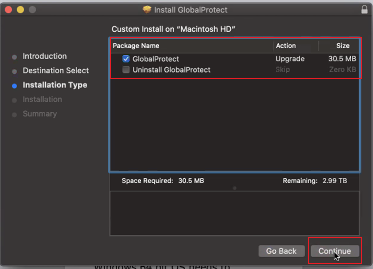
Step 3
Select the “Install” button to continue with the installation on the MAC
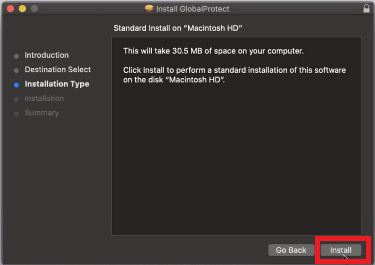
Step 4
During the installation you will be prompted to enter your MAC password to allow the installation to run on your MAC
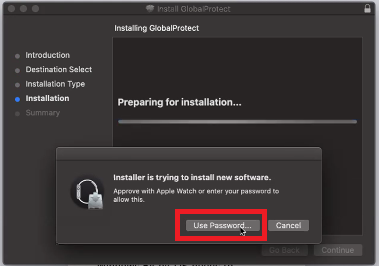
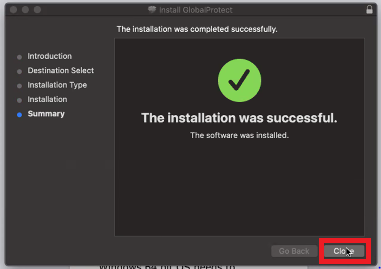
Step 5
Once the Installation is completed you can select “Close” to complete the installation.
Linux OS – Installation
Step 1
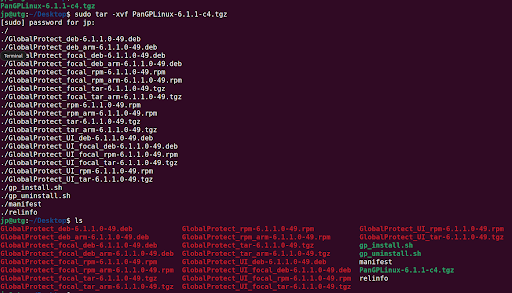
Once the .tgz file is downloaded extract it using the following command
“sudo tar -xvf PanGPLinux-6.1.1-c4.tgz”
Step 2
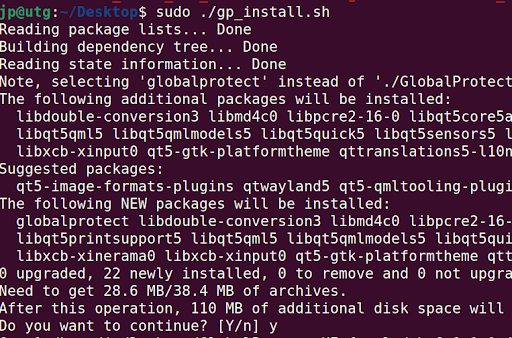
Install the application by running the “./gp_install.sh” command in the terminal
Step 4
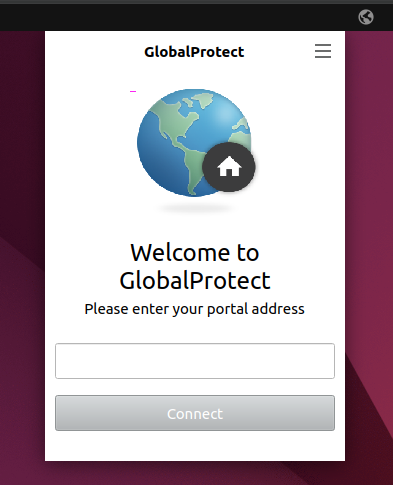
Once the application is installed you can run it and connect to the VPN address. If the application is not dissipated you can run “globalprotect launch-ui” to start the application.
Step 5
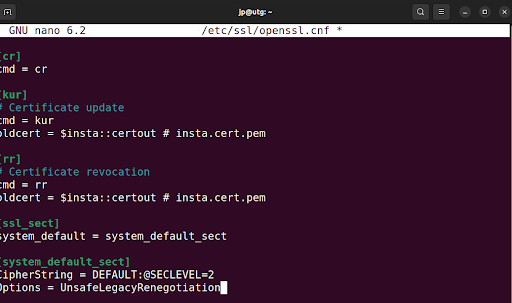
Before connecting on Ubuntu 22 you may need to modify the SSL security setting by add the following to the end of the openssl.cnf file
Options = UnsafeLegacyRenegotiation
Step 6
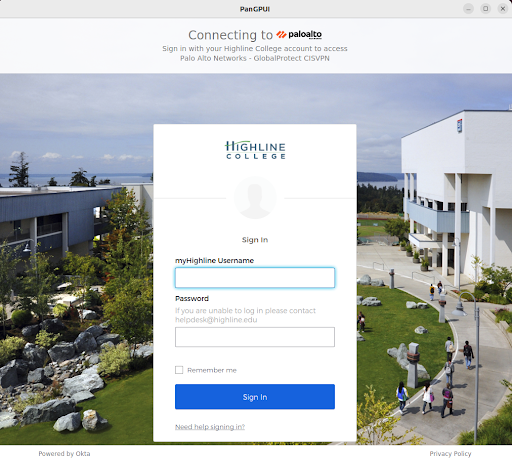
Once the SSL setting have been updated you can login to the VPN by entering your Highline Username and password on in the Okta window
Step 7
Verify your connection by checking the IP address assigned to the “gpd0” interface

Questions?
- Please contact the Help Desk.

