Adobe Creative Cloud
This page will explain how to access and download Adobe Creative Cloud.
Instructions
Step 1
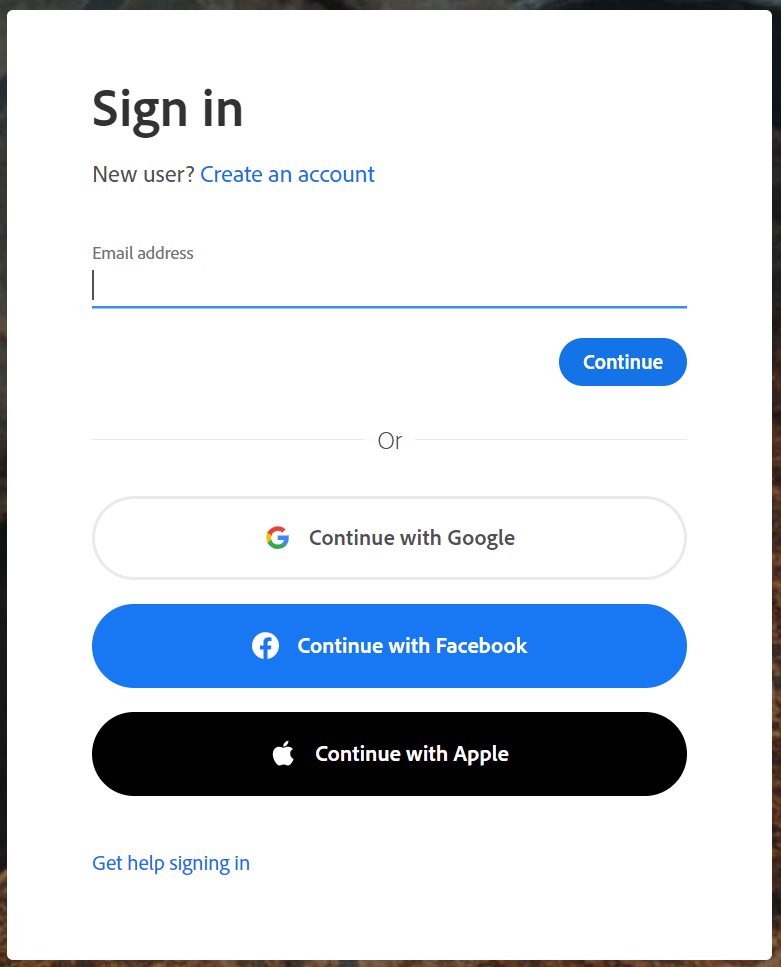
Go To Adobe and click the sign-in link at the top right, and sign in with your full highline.edu email and click ‘Continue.’
Step 2
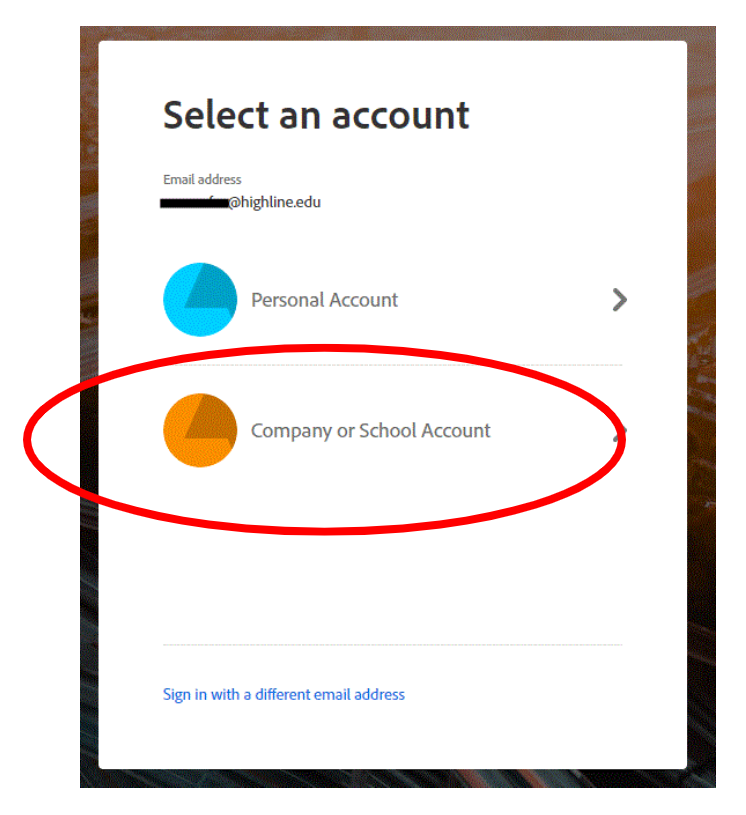
Select ‘Company or School Account.’
Step 3
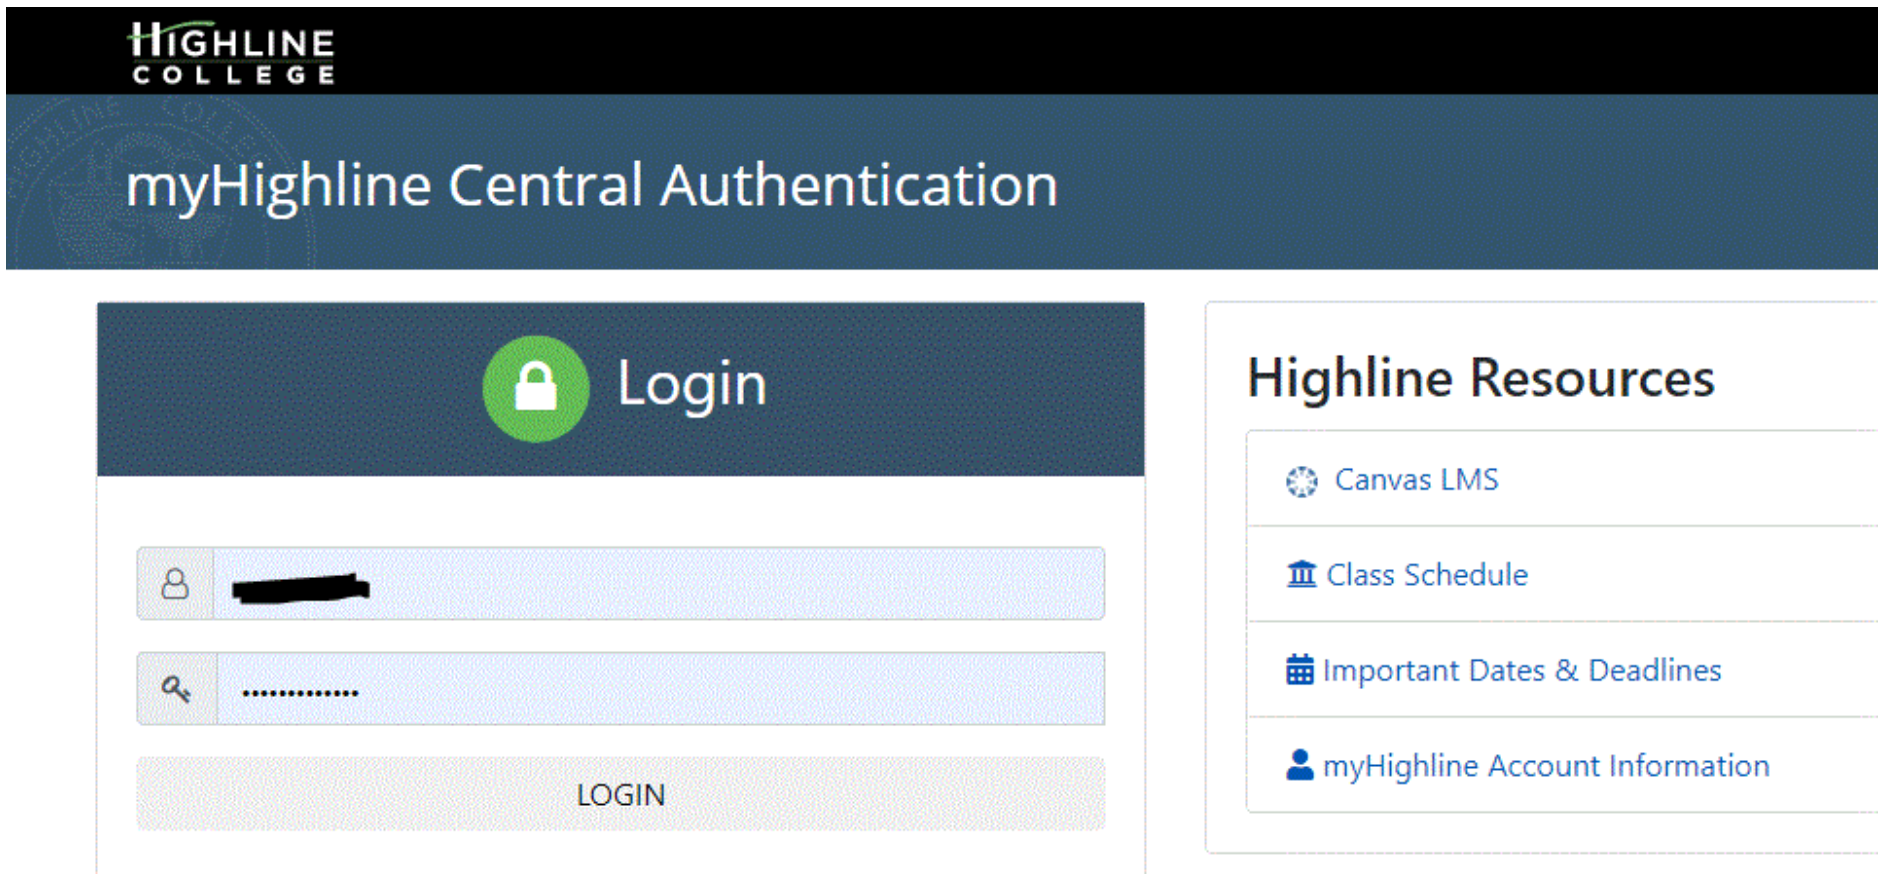
You will be redirected to the Highline Central login page to login using your Username only (not full E-Mail) and password. This will check our system and authenticate the license we have assigned your account.
Step 4
Once above step is completed you will be redirected back to the Adobe page similar to what is shown below. Select ‘Creative Cloud’ to access the Applications available to you.

Step 5
Once the above step is completed you should see a listing of tabs for available programs. Yours may look a little different and may only show Acrobat DC without being in a tab. Click ‘Get Desktop App’ to start the software download. Once downloaded, run the install if it does not start automatically by double-clicking on the downloaded file. This will launch the install of Acrobat DC.

Step 6
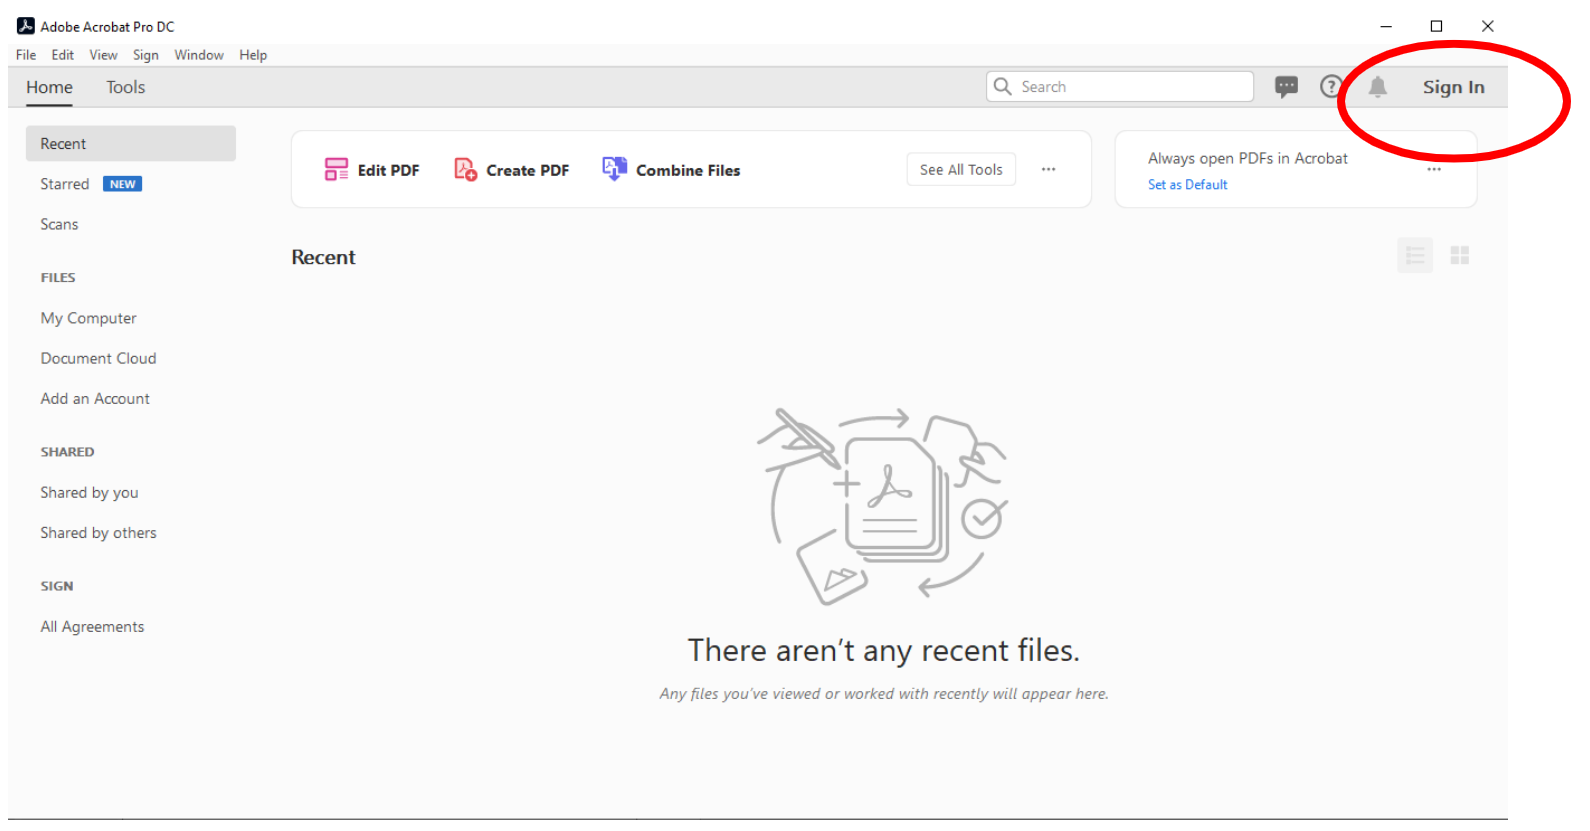
Finally, once the installer is done open up the program, and if it is not automatically signed in, click the ‘Sign In’ button in the top right of the screen.
Step 7
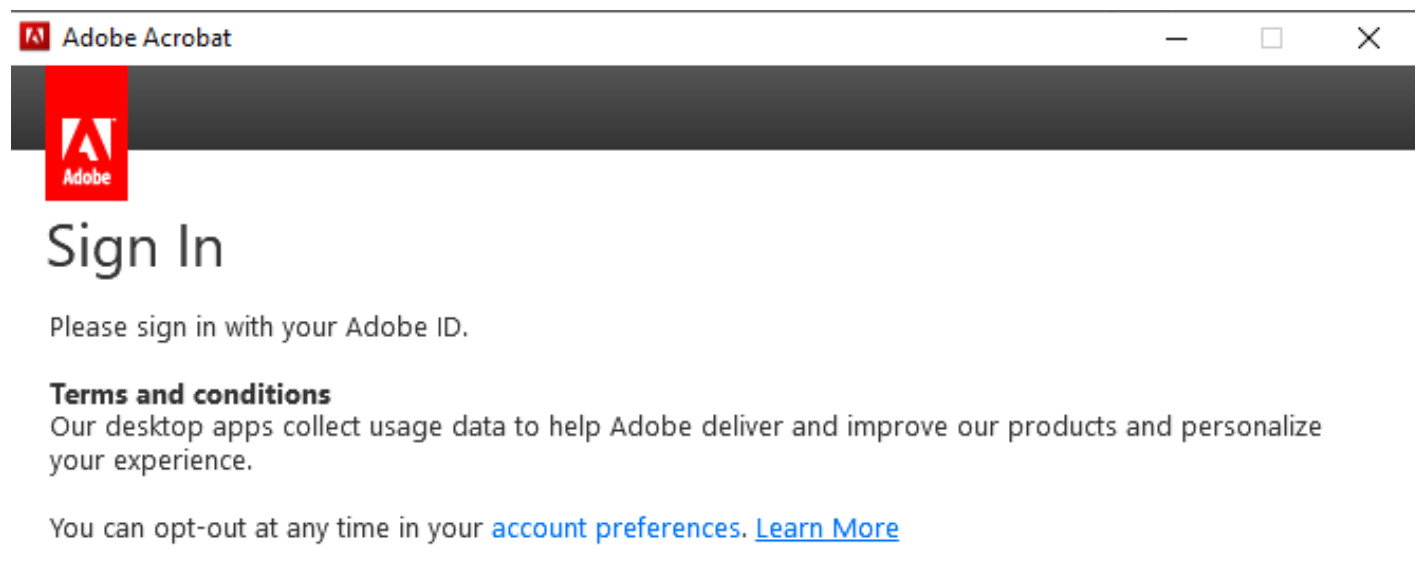
Once ‘Sign In’ is clicked you will see a screen like this one. Select ‘Sign In Now’ to sign into the Adobe Acrobat application.
Step 8
You will then be presented with the familiar Highline Sign-In page shown below. Please enter your full Highline E-Mail here and click ‘Continue.’

Step 9
Select ‘Company or School Account.’

Step 10
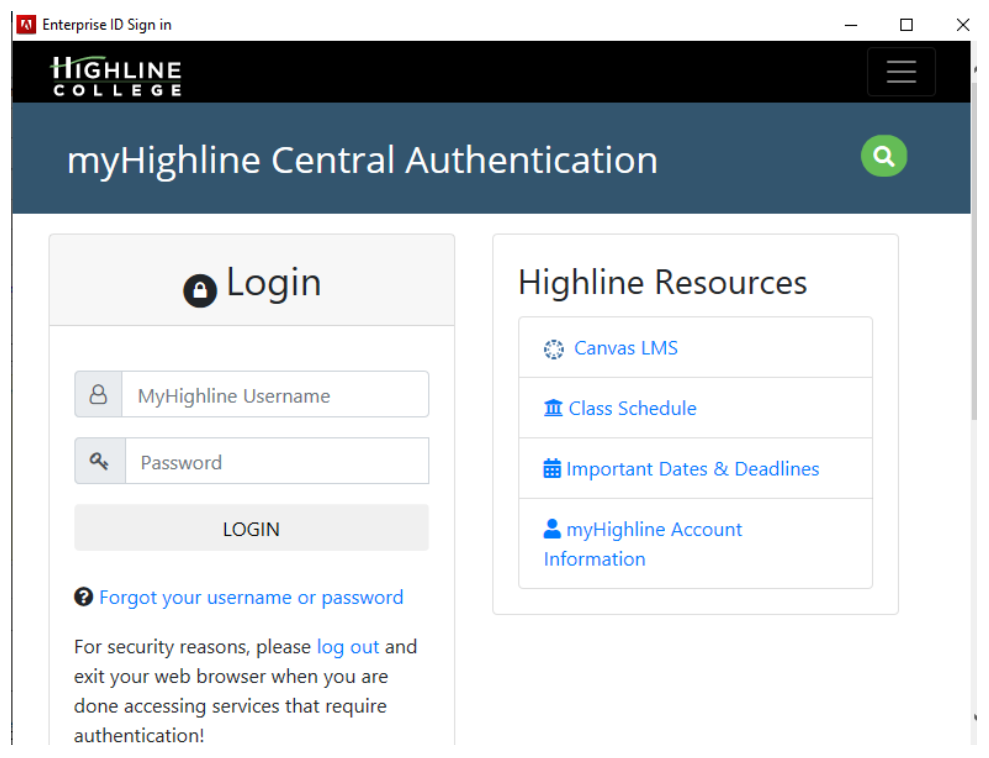
You will be shown the Highline Central Central Authentication login page to enter your Highline username only and most recent password. Once entered click the Login Button to have Adobe authenticate your assigned license.
Step 11
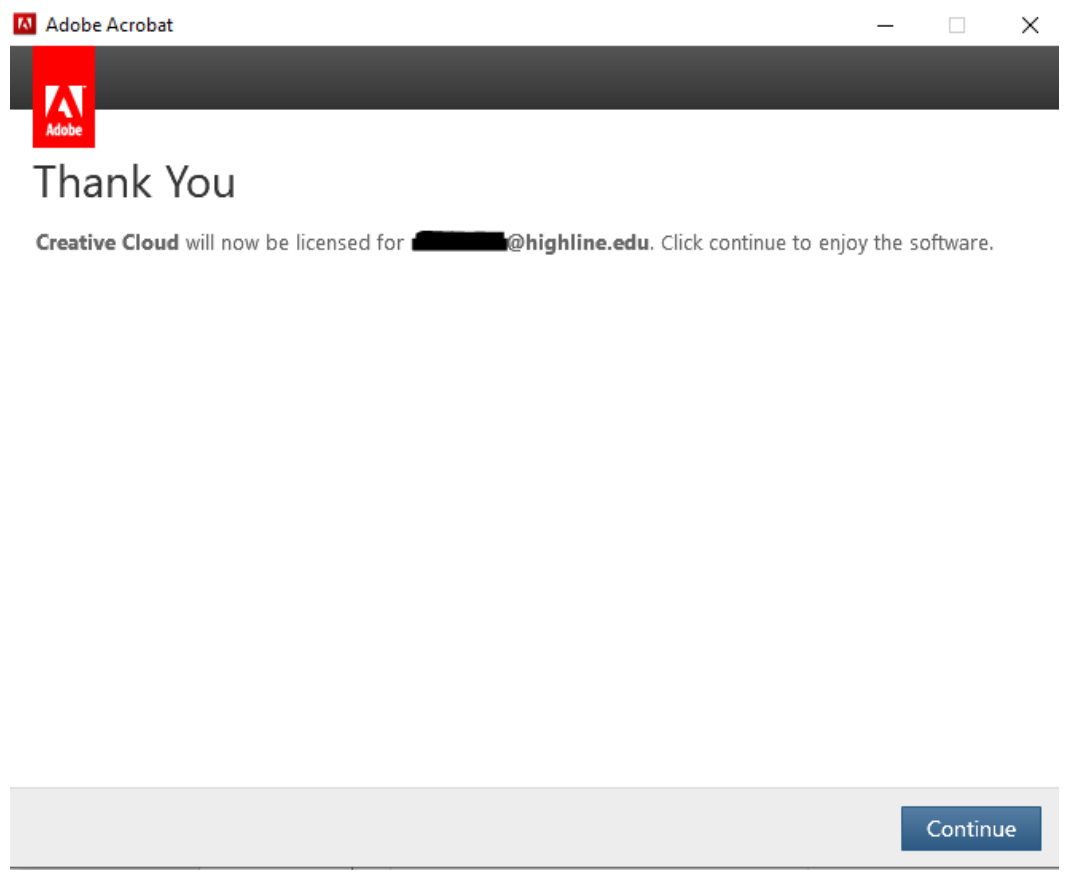
After waiting a moment you will be presented with this screen. Click ‘Continue’ to finalize the activation process and the software will be fully functional.
Questions?
- Please contact the Help Desk.

