
Okta Verify
Common One-Time-Password (OTP) App Examples & Instructions
- See also: Okta – One Time Password App Setup
This are basic instructions for adding an account in common OTP apps. Follow the application’s instructions for more details.
Google Authenticator
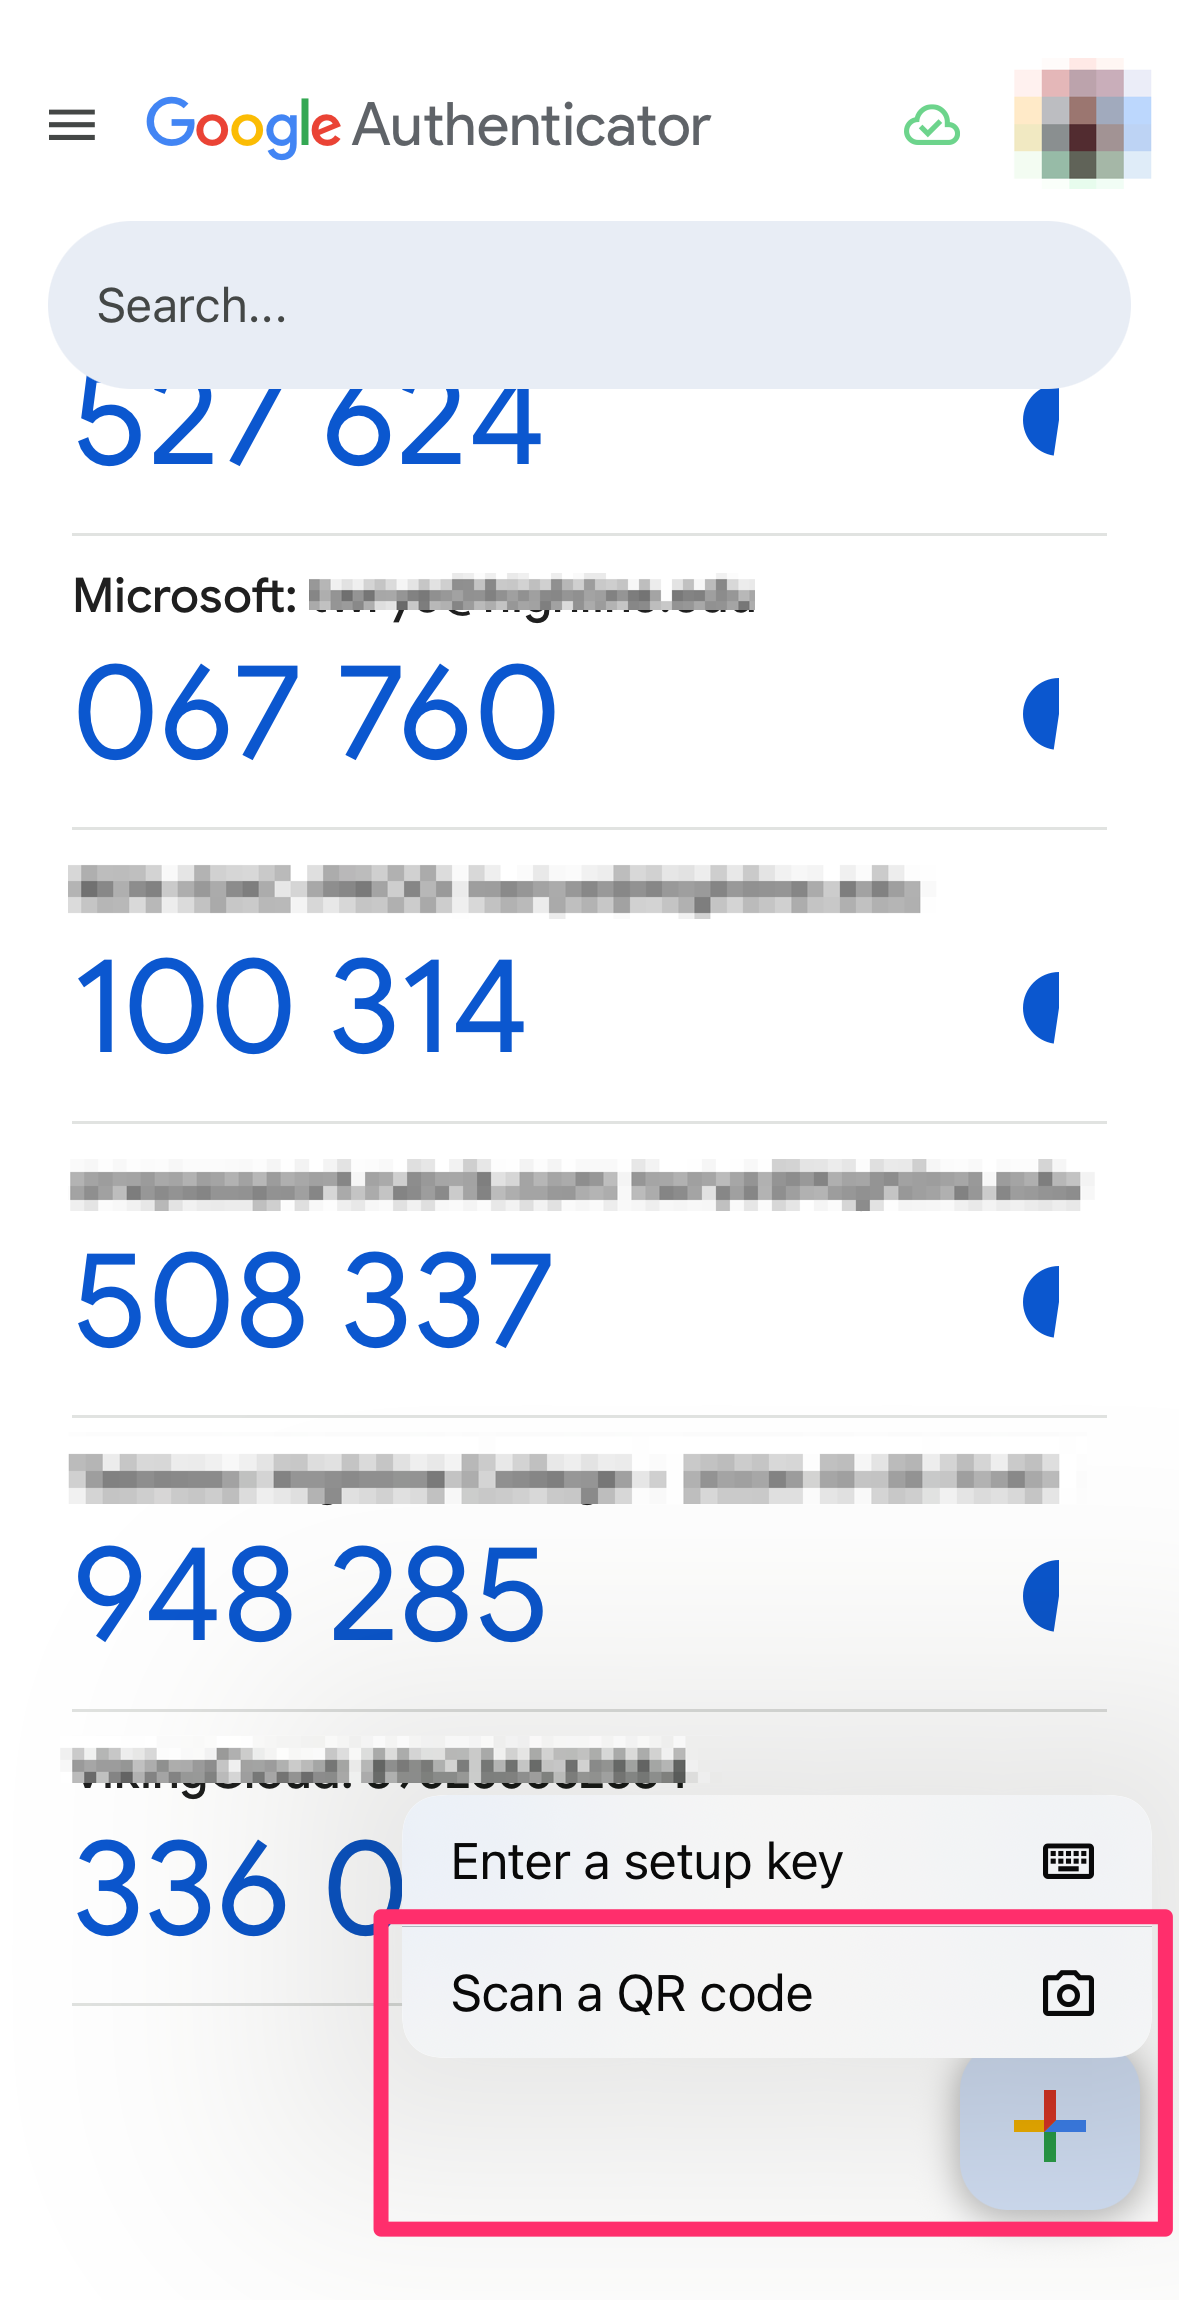
Open Google Authenticator on your mobile device. Click the + in the bottom right corner and choose ‘Scan a QR Code.’ The app will open your camera. Scan the QR code provided by Okta and follow the rest of the OTP setup instructions.
- Note: If you are working only on your mobile device and cannot scan the QR code, choose ‘Enter a setup key’ instead, and follow the directions in the note on Step 6 of the OTP setup instructions.
Microsoft Authenticator
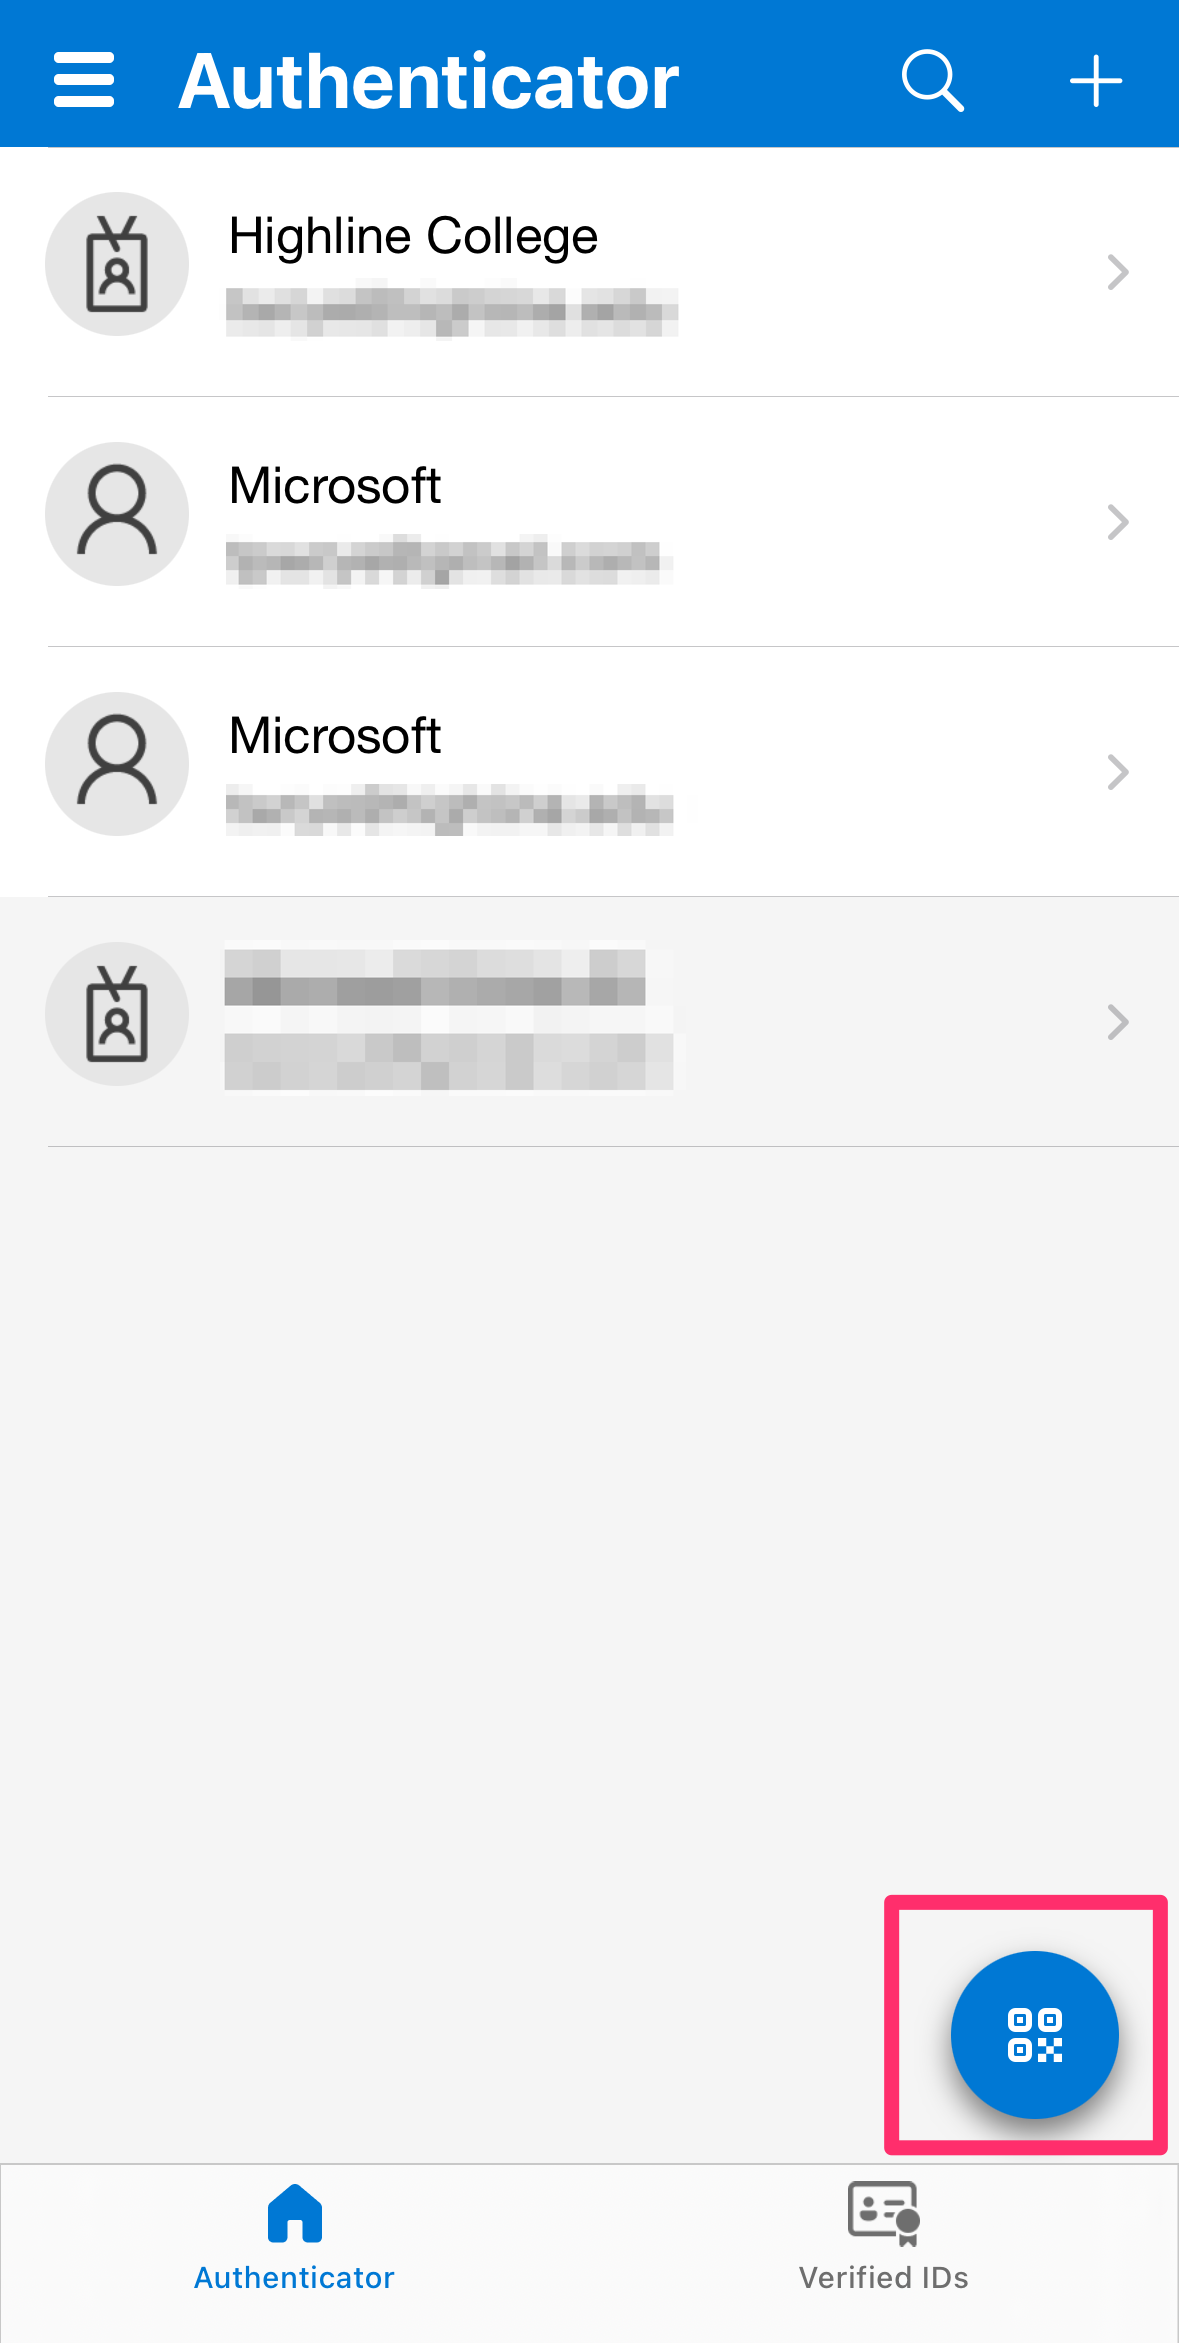
Open Microsoft Authenticator on your mobile device. Click on the QR code icon in the bottom left. The app will open your camera. Scan the QR code provided by Okta and follow the rest of the OTP setup instructions.
- Note: If you are working only on your mobile device and cannot scan the QR code, choose ‘Enter code manually’ on the Scan QR code page, and follow the directions in the note on Step 6 of the OTP setup instructions.
Authy
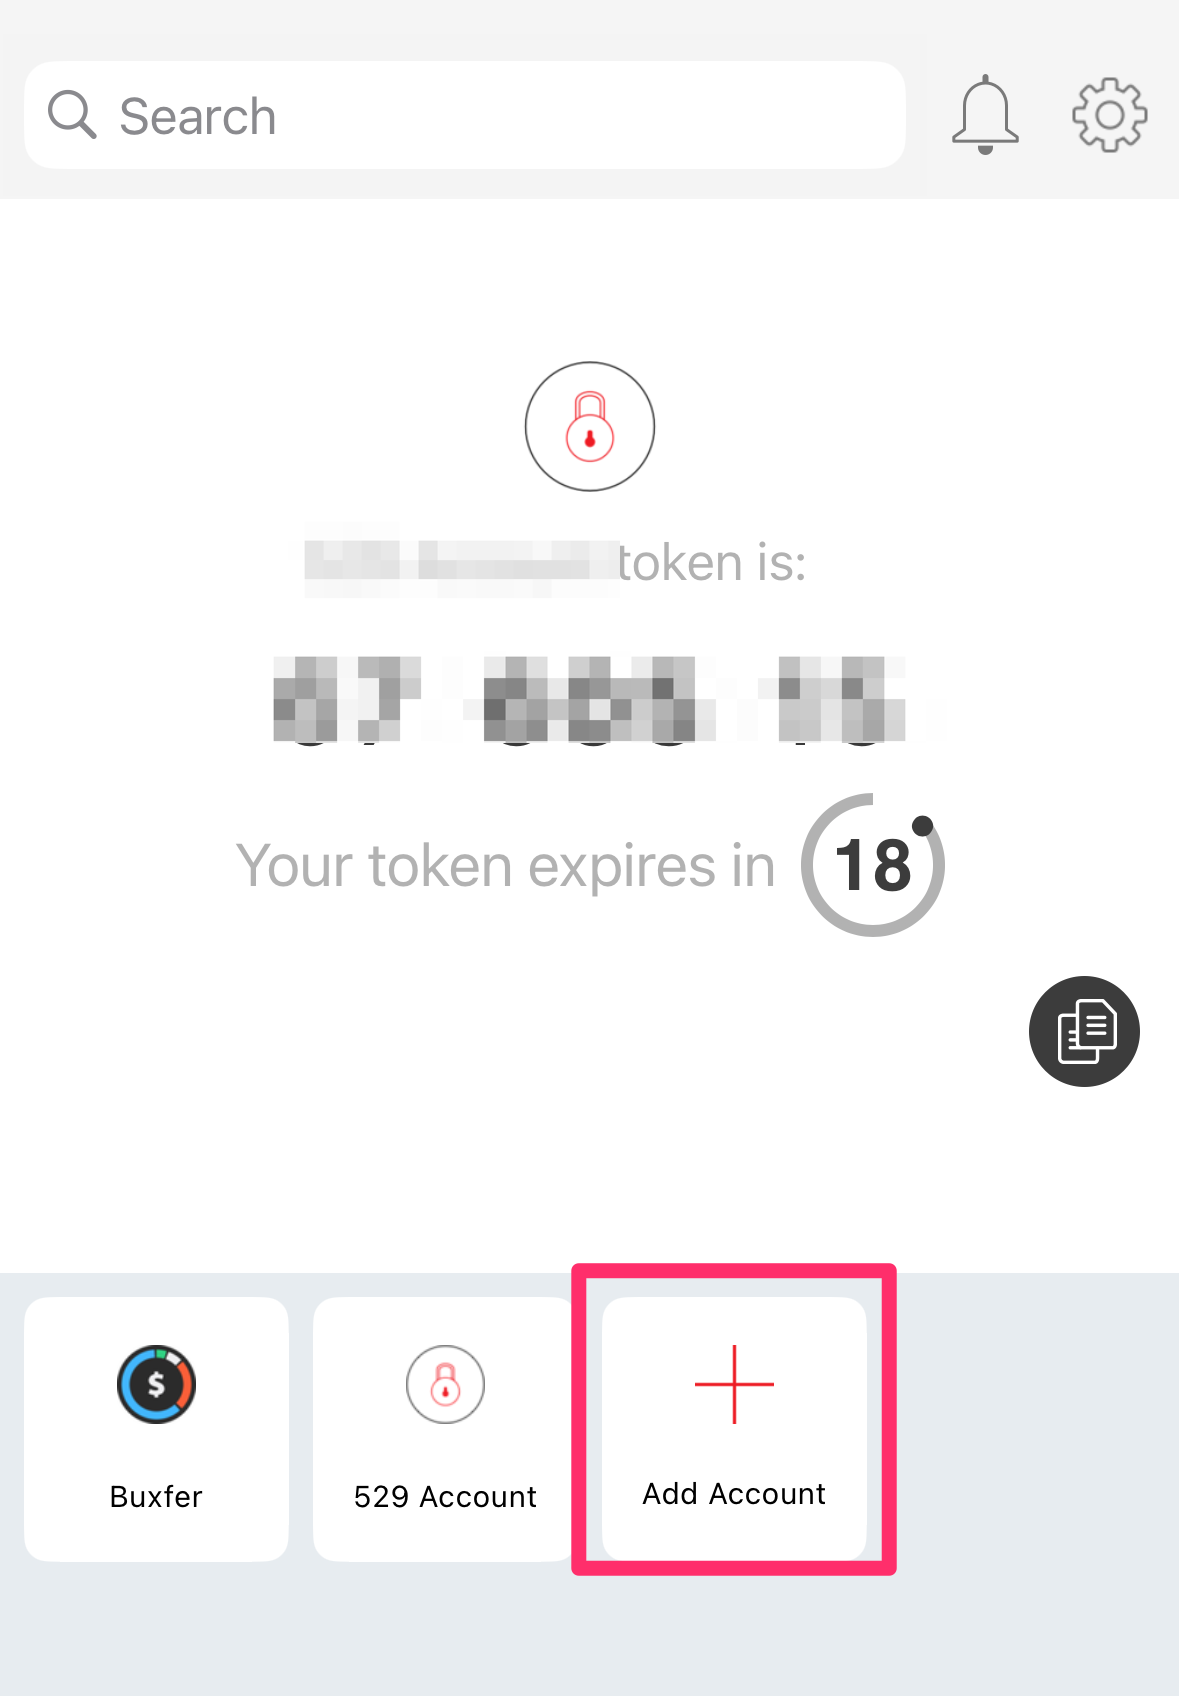
Open Authy on your mobile device. Click the +/Add Account button, then choose ‘Scan QR Code.’ The app will open your camera. Scan the QR code provided by Okta and follow the rest of the OTP setup instructions.
- Note: If you are working only on your mobile device and cannot scan the QR code, choose ‘Enter code manually’ on the Scan QR code page, and follow the directions in the note on Step 6 of the OTP setup instructions.
Questions?
- Please contact the Help Desk.