
Microsoft Outlook Guide
Tutorial: Calendar Event Invites to Bulk Lists
Highline employees must send calendar event invitations as attachments when sending to bulk campus groups (Staff/Faculty), allowing the recipients to manually choose whether or not to add it to their calendar. When sent via the standard method, Outlook will automatically add the event to the recipient’s calendar, usually as as ‘Tentative.’ This blocks off their availability and causes their calendars to be unreliable for anyone trying to schedule necessary meetings with them.
The tutorials below will explain how to:
- Send your calendar event to bulk lists as an attachment
- Send a calendar event to bulk lists if you are an executive assistant for an Executive Cabinet member
- Respond to a calendar event that came as an attachment, and add the events you accept to your calendar
Note: Images may vary based on your device and settings.
Instructions: Sending Calendar Events as Attachments
Step 1
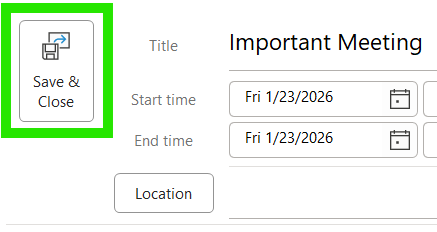
In your personal Outlook Calendar, create your event without inviting adding attendees or any email lists. Click ‘Save and Close’ which will close the event window.
Step 2 – Option 1
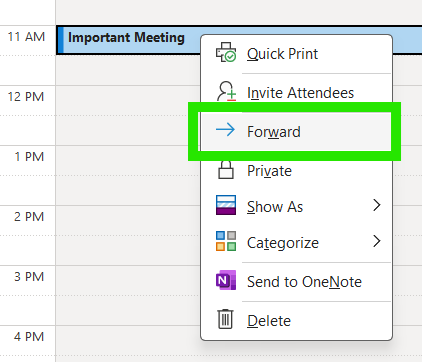
From your calendar view, right-click on your event and select ‘Forward’ from the drop-down menu.
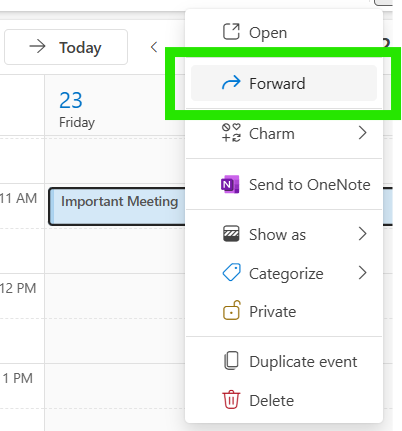
The two images below shows the difference in the drop-down menus in the local desktop version and the web portal.
Local Desktop
Web Portal
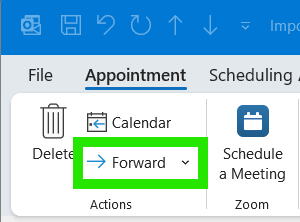
Step 2 – Option 2
In the event details window, you can also click the ‘Forward’ button at the top right in the ‘Actions’ section of the navigation ribbon.
Step 3
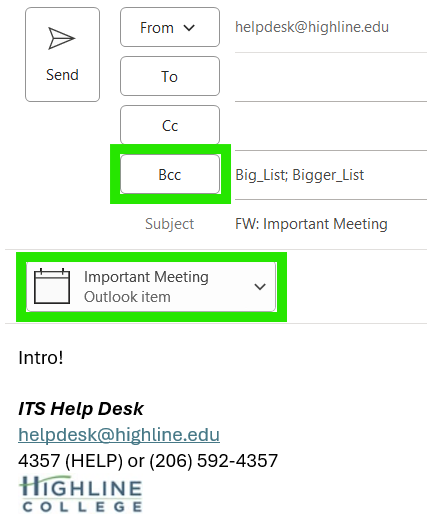
A new email window will pop up, with the event attached. Add any additional introduction you would like.
Please remember to put the mailing lists and other recipient emails in the ‘Bcc‘ line. This prevent recipients from being able to hit ‘Reply All’ and sending unnecessary replies to everyone instead of just you.
If you want any replies to go to a specific email address, you can put it in the ‘To’ line.
When ready, go ahead and send the email!
Instructions: Sending Calendar Events as Attachments, Executive Assistants Version
Executive assistants assigned to Executive Cabinet members can send calendar event invitations directly to bulk lists as before, except the calendar event must be on the Executive Cabinet member’s calendar. This method will still block off time on the recipients’ calendar as ‘Tentative.’
The procedure above to send events as attachments still works for either the executive assistant’s or Executive Cabinet member’s calendars.
Instructions: For Recipients of Emails with Attached Events
Step 1
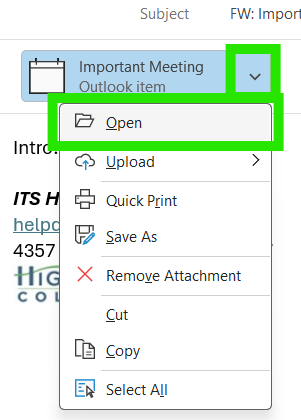
In the email with the attached calendar event, either double-click the attachment, or right-click and select ‘Open,’ to bring up the meeting details window.
Step 2
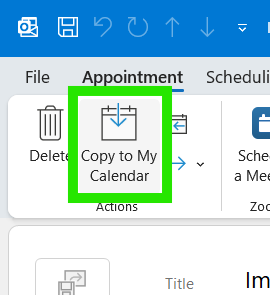
If you decide you are not interested, you can just close the event window. This does not send any response to the event organizer.
If you want the event on your calendar, then your can click ‘Copy to My Calendar’ at the top left.
Step 3 – Optional
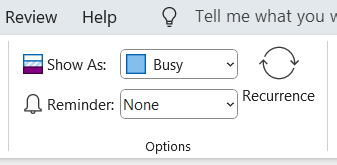
Just as with any event on your calendar, you can use the ‘Options’ section on the navigation ribbon to change how the event shows on your calendar (Free, Busy, Tentative, Working Elsewhere, Out of Office), and set a reminder.
- Return to The Microsoft Outlook Guide
Questions?
- Please contact the Help Desk.