PaperCut
Setup for MacOS (Staff and Faculty)
If you need the PaperCut Canon driver installed, please submit a ticket to the Help Desk by emailing helpdesk@highline.edu. Once IT has completed the pre-installation phase, you will need to follow the steps below on your Mac device.
Step 1
Open the ‘Applications’ folder on your Mac.
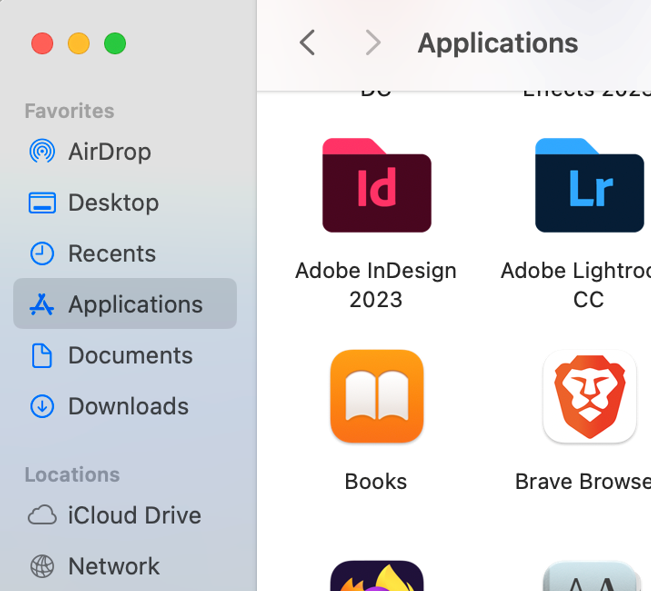
Step 2
Find and select the ‘Self Service’ icon.
![]()
Step 3
Under ‘Self Service,’ the user will see a new icon labeled ‘PaperCut Staff & Faculty.’
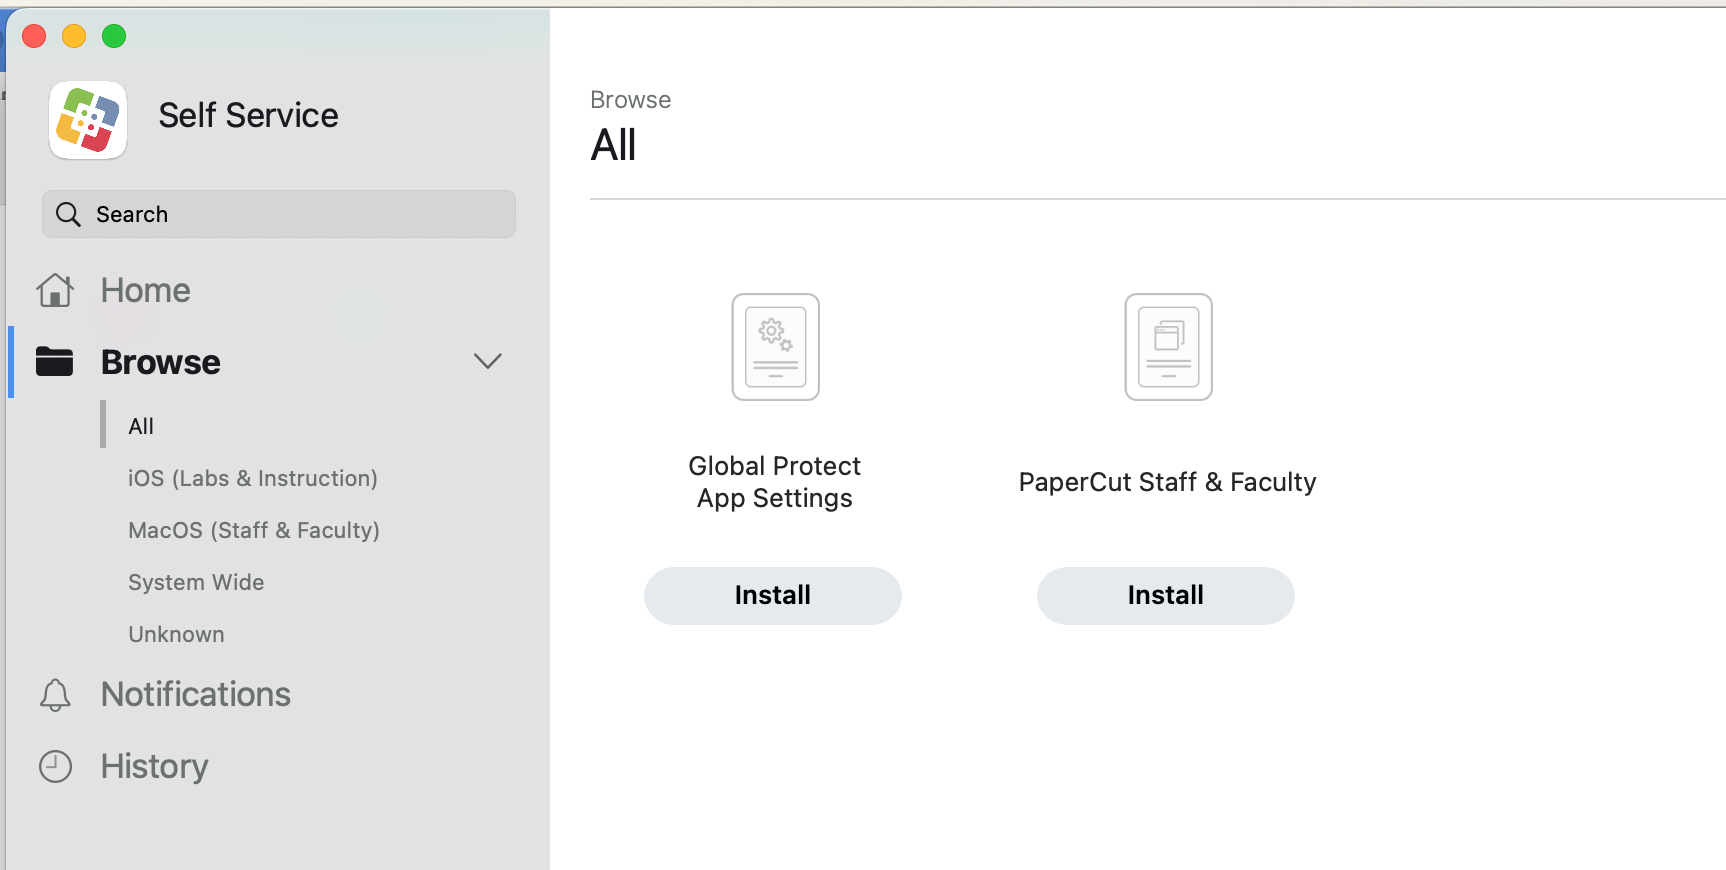
Step 4
Click the grey ‘Install’ button underneath it to begin the installation.
![]()
Step 5
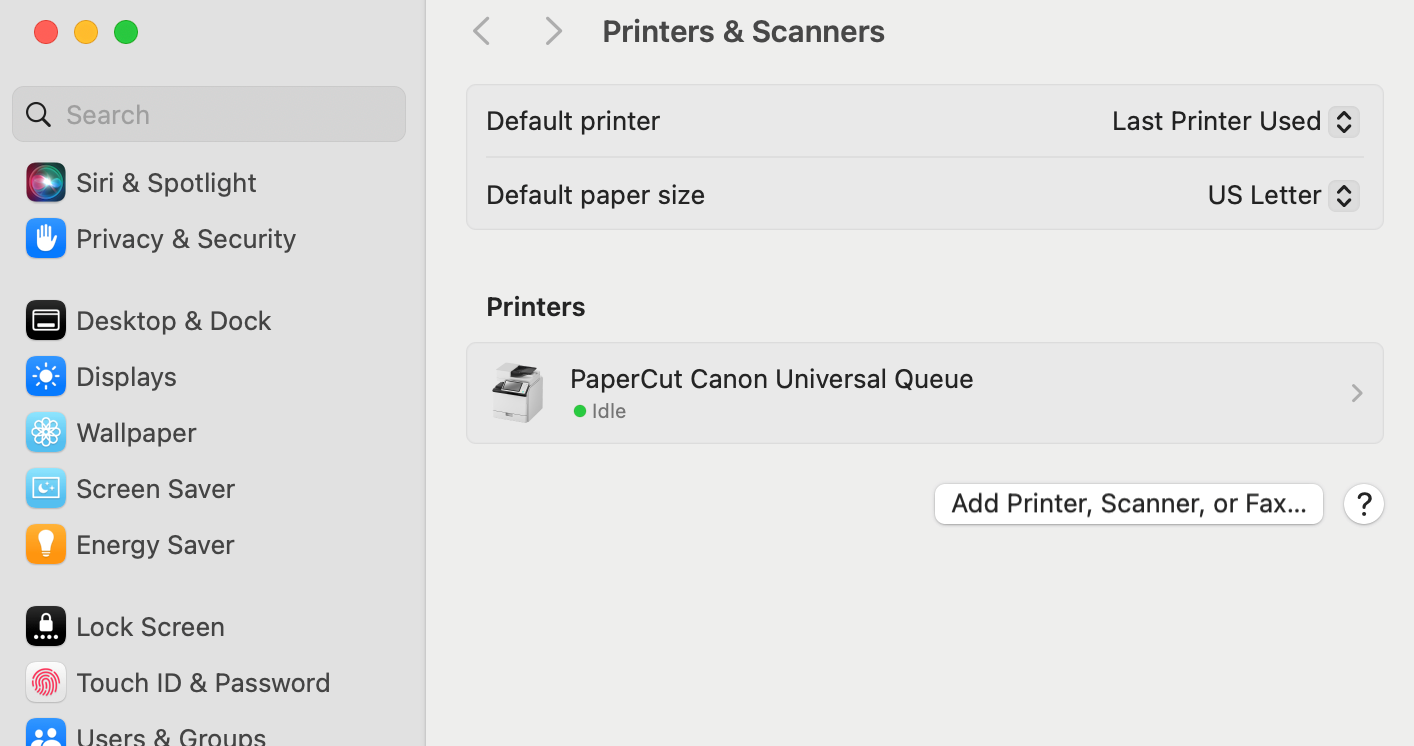
Once the installation is complete, navigate to ‘Printers & Scanners’ by searching for it or accessing it through ‘System Settings.’
Verify that ‘PaperCut Canon Universal Queue’ has successfully been added to the list of printers. It will now show up as an option when you are printing a file from any of your applications.
- Return to the Highline Printing Guide
Questions?
- Please contact the Help Desk.