
PaperCut
Tutorial: Installing Mobility Print
To print to a Canon MFD on campus with PaperCut Mobility Print, you must first install the Mobility Print driver for your operating system.
Step 1
To find your Mobility Print installer, start at the MyApps Dashboard, and choose the ‘PaperCut Mobility Install’ tile.
![]()
Step 2
You will be sent to a website that should automatically identify the operating system of your device. The example below shows the download screen for Windows devices. Click ‘Download’ to download the installer.
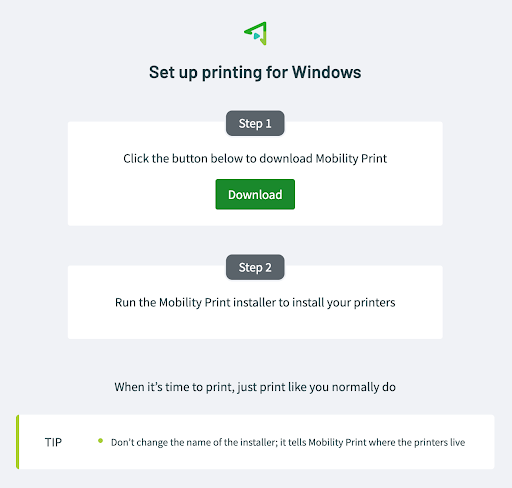
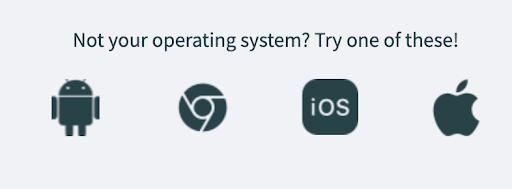
If you need the installer for a different operating system, Mobility Print is available for Android, ChromeOS, iOS, and MacOS. Note that Step 2 on the download page will have different instructions for each operating system.
Step 3
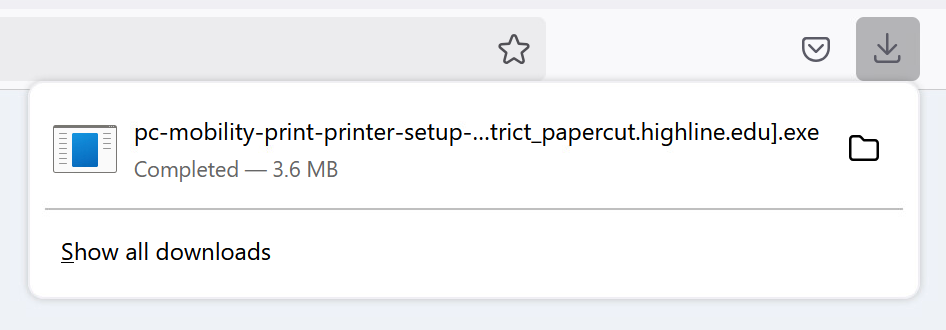
Once the installer is downloaded, follow the instructions on the download page. In the example below for Windows, double click the installer file to install the driver. You can find the file in your ‘Downloads’ folder.
Step 4
During the install, you should choose the ‘PaperCut Canon Universal Queue.’
NOTE: You may occasionally see additional printers listed, but the ‘PaperCut Canon Universal Queue’ is the only one that will function correctly.
![Screenshot of the Setup for PaperCut Mobility Print Printer, Printer Selection, with 'PaperCut Canon Universal Quese [PaperCut]' selected. Click Next.](https://its.highline.edu/wp-content/uploads/sites/73/2025/02/PaperCut-Mobility-printer-selection.png)
Step 5
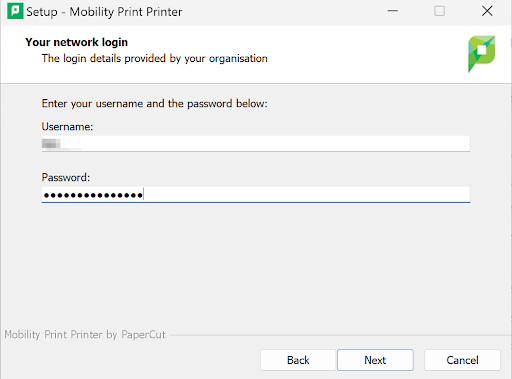
If you are asked for a login during this process, use your normal myHighline username and password.
Step 6
After the installation is complete, you should now see the ‘PaperCut Canon Universal Queue’ in your list of printers.
' is installed in the list of printers.](https://its.highline.edu/wp-content/uploads/sites/73/2025/02/PaperCut-Mobility-Universal-Queue-Installed.png)
You may now follow the ‘How to Print’ tutorial to print your documents.
- Return to the Highline Printing Guide
Questions?
- Please contact the Help Desk.