PaperCut
Tutorial: How to Print
To print using one of the PaperCut Canon Multi-Function Devices (MFDs) on campus, you will first need to send the print job to the ‘PaperCut Canon Universal Queue.’
NOTE: The PaperCut Canon Universal Queue will be automatically installed on college devices. For student printing from personal devices, see Installing Mobility Print.
Step 1
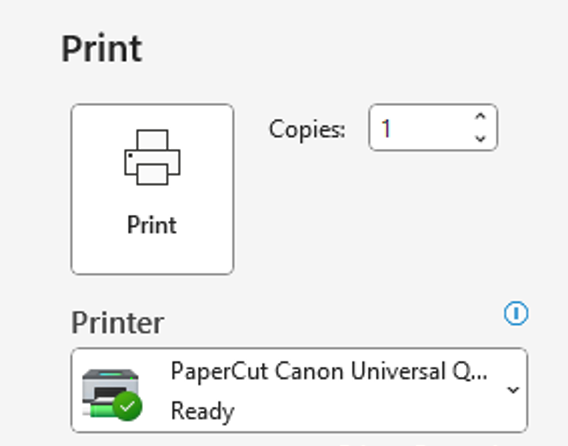
Open your application’s Print screen (the image example below is using Microsoft Word, found under ‘File’ then ‘Print’).
Under the ‘Printer’ selection menu, choose the ‘PaperCut Canon Universal Queue.’ This option should be available on all applications with the ability to print. If you are having trouble finding it, contact the ITS Help Desk for assistance.
Click ‘Print’ to send the print job. There is no confirmation message when the job is sent, but there will be an error if the application is unable to send the job. You can confirm the job has been added to your queue by accessing your PaperCut dashboard through MyApps or at any of the physical devices.
Step 2
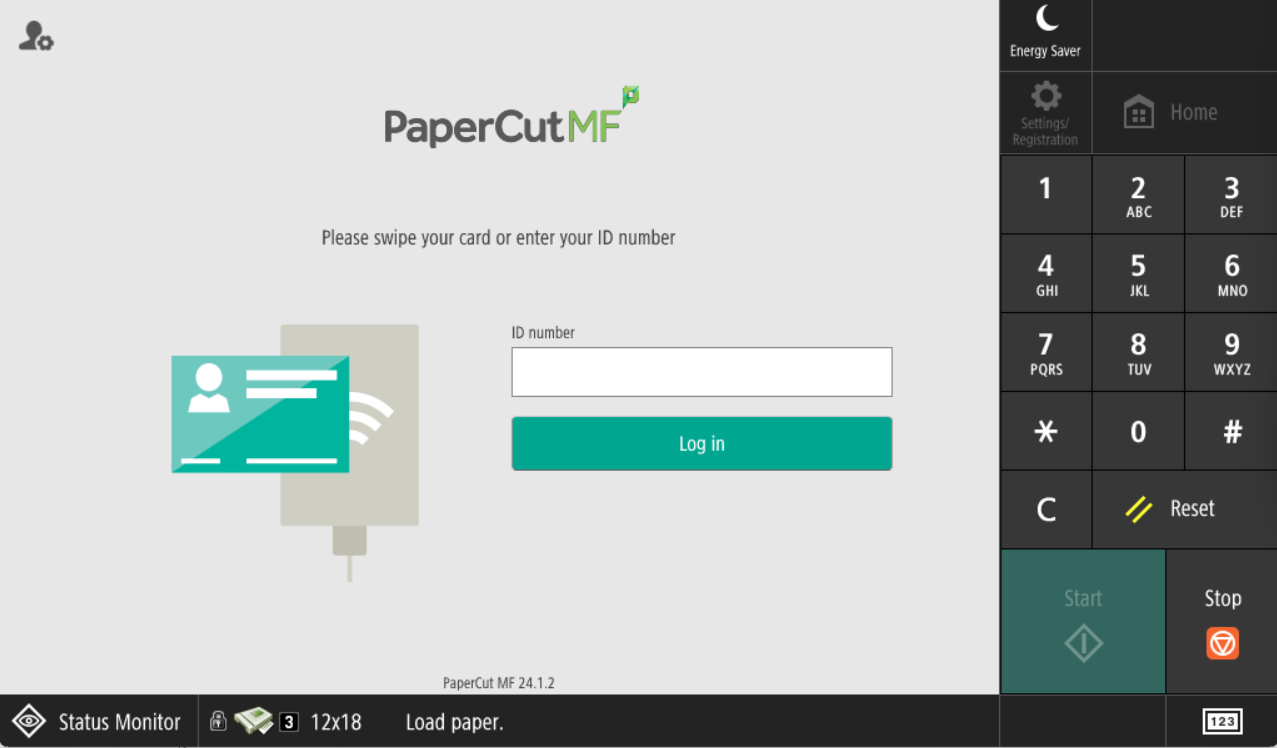
After the print job has been sent to the queue, it may be released (printed) at any Canon MFD on campus. Go to the device physically and log in to PaperCut dashboard by entering your PaperCut ID number on the number pad and clicking ‘Log In.’
Step 3
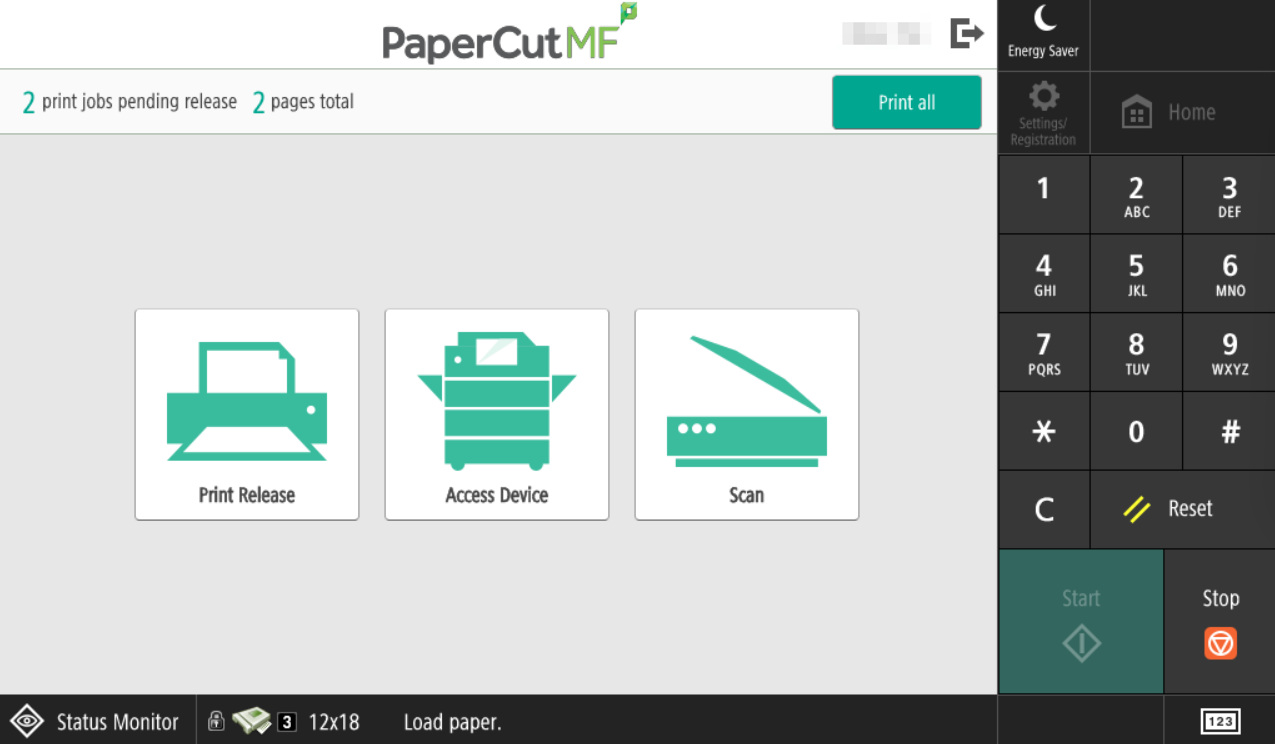
After logging in, you will see the PaperCut dashboard. The total number of pending jobs (if any) and how many pages that entails will be displayed near the top left of the screen. If you would like to print all of those pending jobs, click the green ‘Print all’ button near the top right of the screen.
If you would like to review the pending jobs before printing, click the ‘Print Release’ button.
Step 4
‘Print Release’ will take you to the full list of available/unreleased print jobs in your queue. From here, you can review the jobs’ information, see the total cost of printing, and delete jobs you no longer wish to print.
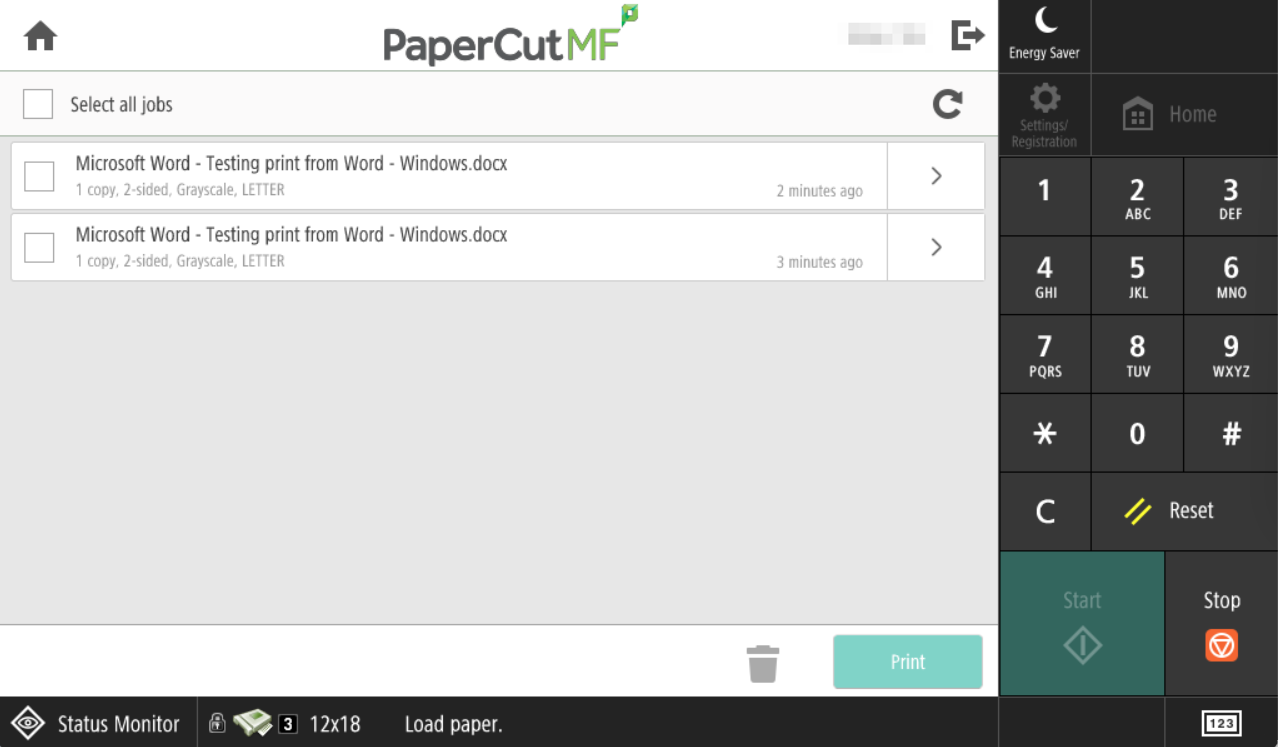
Step 5
Select one or more of the jobs to print by clicking the checkbox to the left of the job info. The checkbox will turn green with a white checkmark inside when that job is selected.
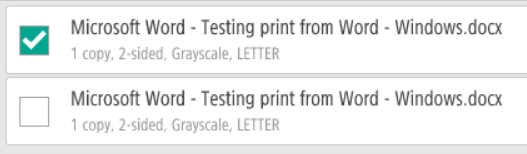
- The total cost of all the jobs you have selected will automatically tally and be displayed above the job list.
![]()
- If you no longer want to print a job, you may click the checkbox for that job, and then click the black trashcan icon next to the ‘Print’ button. Even if you do not delete them, all print jobs are automatically cleared from the queue after 24 hours.

- If you have selected the jobs that you are ready to print, click on the green ‘Print’ button at the bottom right.

Step 6
When you are finished releasing your jobs for printing:
- Click the home button to return to the main screen.

- Or the exit button to log off the device.

- Return to the Highline Printing Guide
Questions?
- Please contact the Help Desk.