
PaperCut
Tutorial: How to Scan
When you scan a document at one of the PaperCut Canon Multi-Function Devices (MFDs) on campus, you will be able to have it sent to the email, Google Drive, or OneDrive associated to your Highline account. From there, you may choose where to move or send it.
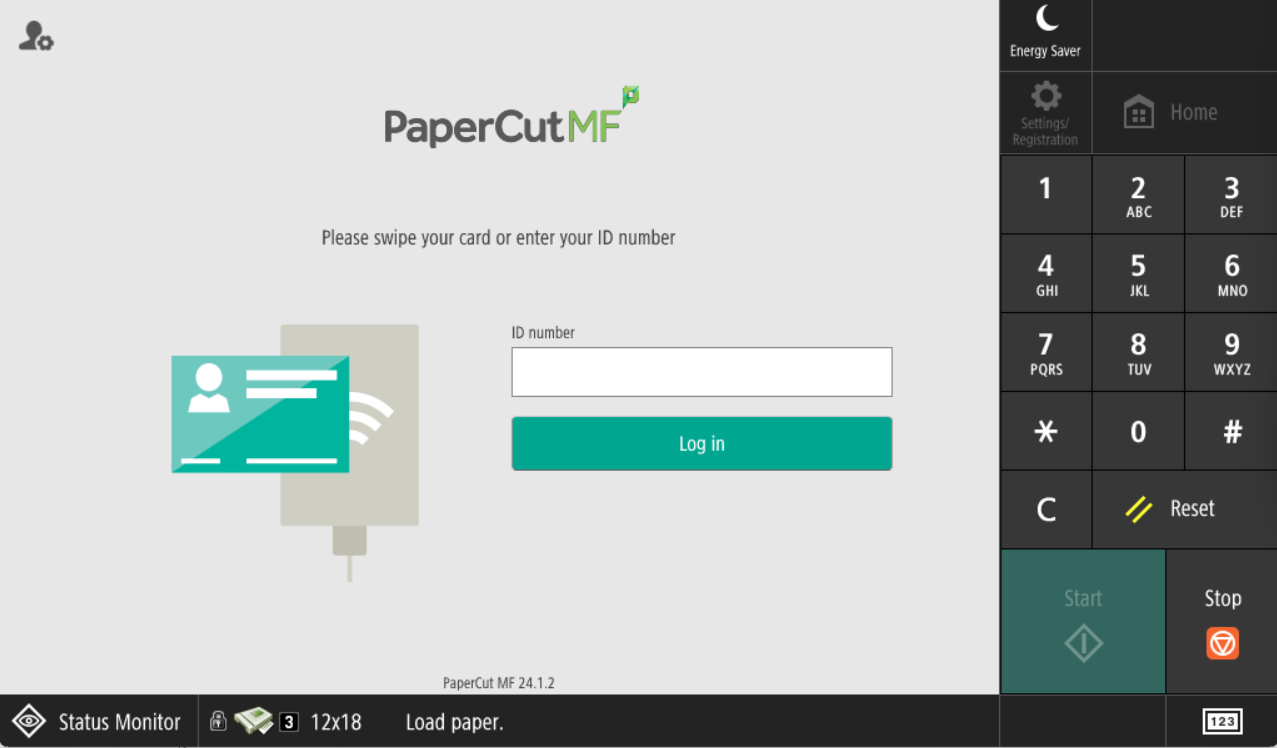
Step 1
Log in to the device by entering your PaperCut ID number on the number pad and clicking ‘Log In.’
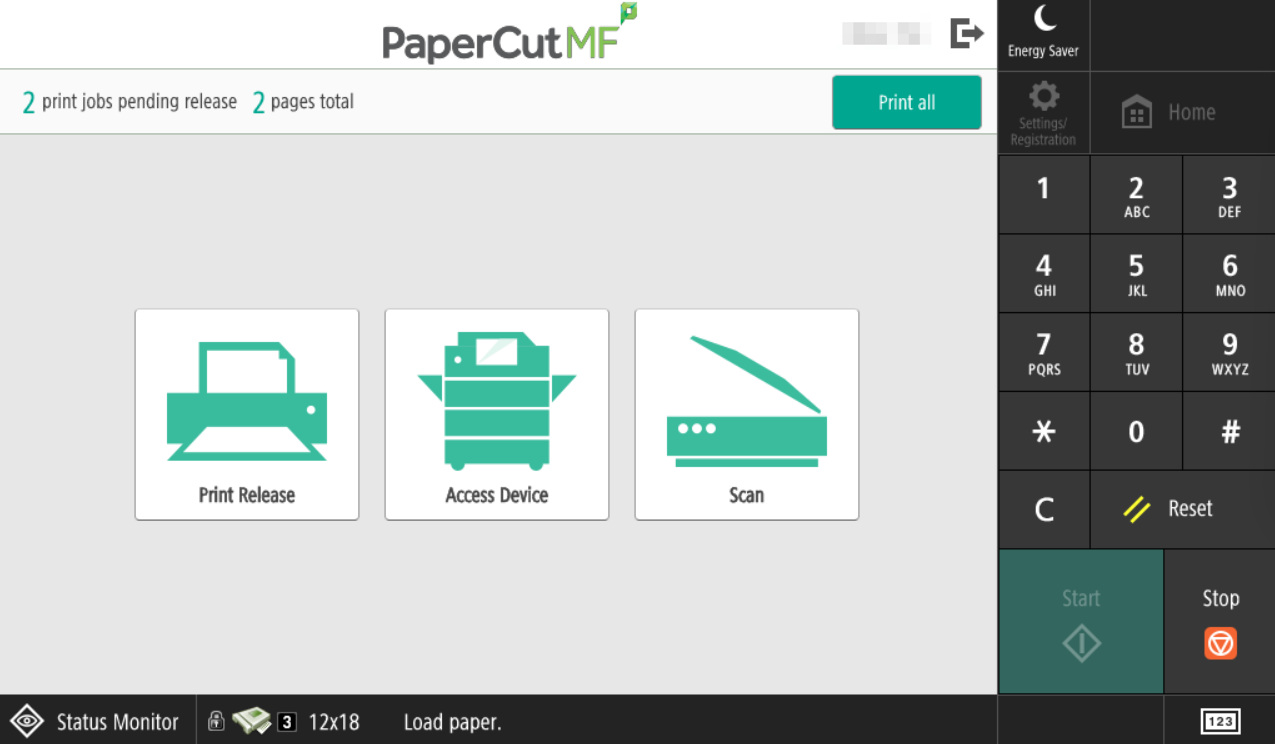
Step 2
After logging in, you will see the PaperCut dashboard. Click the ‘Scan’ button.
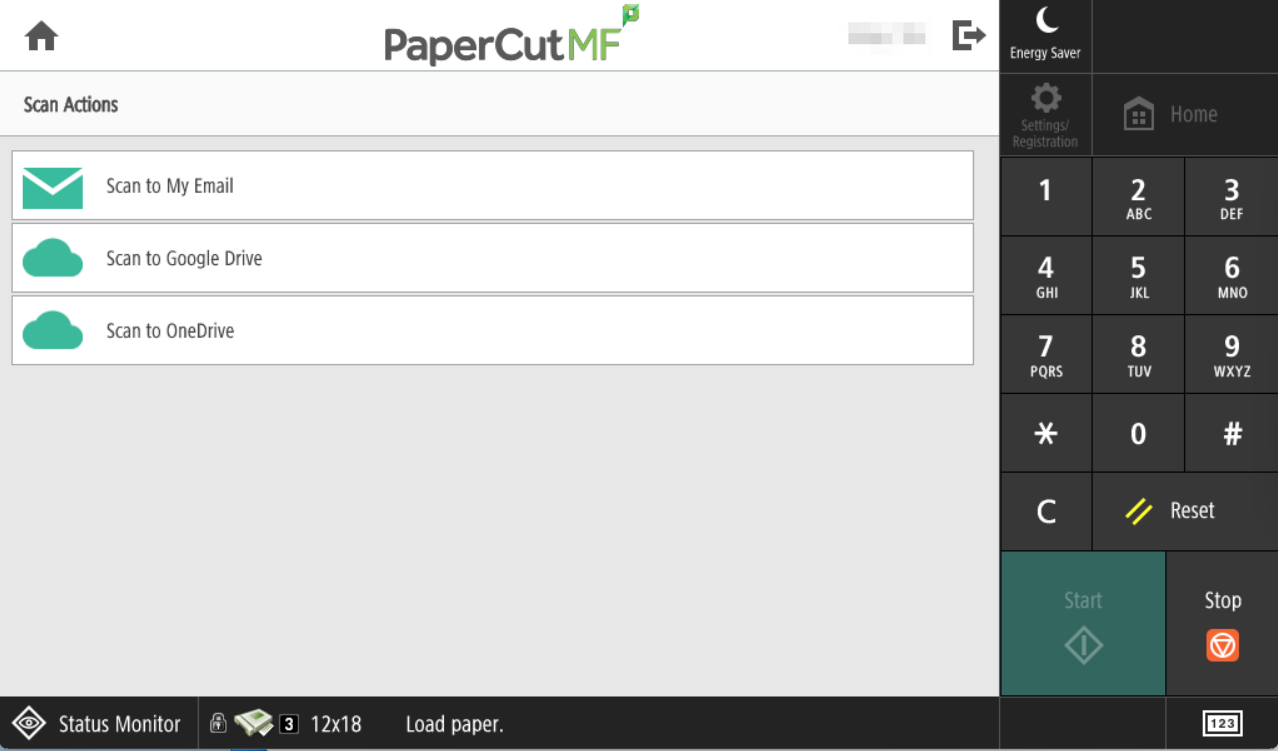
Step 3
On the Scan Actions screen, you will have 3 choices:
- Scan to My Email
- Scan to Google Drive
- Scan to OneDrive
If you are scanning a large document, we highly recommend using either Google Drive or Microsoft OneDrive as there are file size limits when scanning to email.
Step 4: ‘Send to Email’ Option
If you choose to scan to email, PaperCut will send the scan to your Highline email address only.
The default ‘Filename’ will be “scan_” plus your username and the date and time. You can edit the ‘Subject’ or ‘Filename’ if you choose. The checkbox to “Prompt for more pages” is selected by default, but you can unselect it if you do not have any more pages to scan for this document.

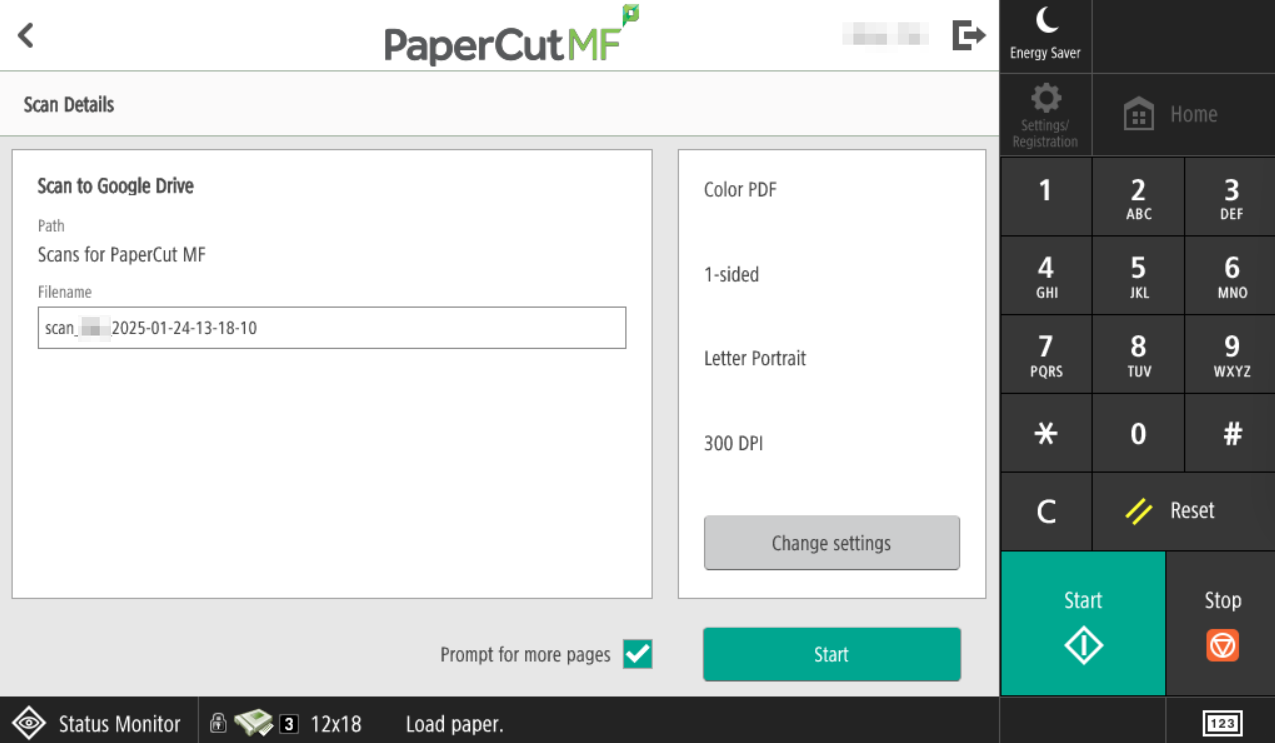
Step 4: ‘Send to Google Drive’ Option
If you choose to scan to your Highline Google Drive, the default filename will be “scan_” plus your username and the date and time. You can edit the ‘Subject’ or ‘Filename’ if you choose. The checkbox to “Prompt for more pages” is selected by default, but you can unselect it if you do not have any more to scan for this document.
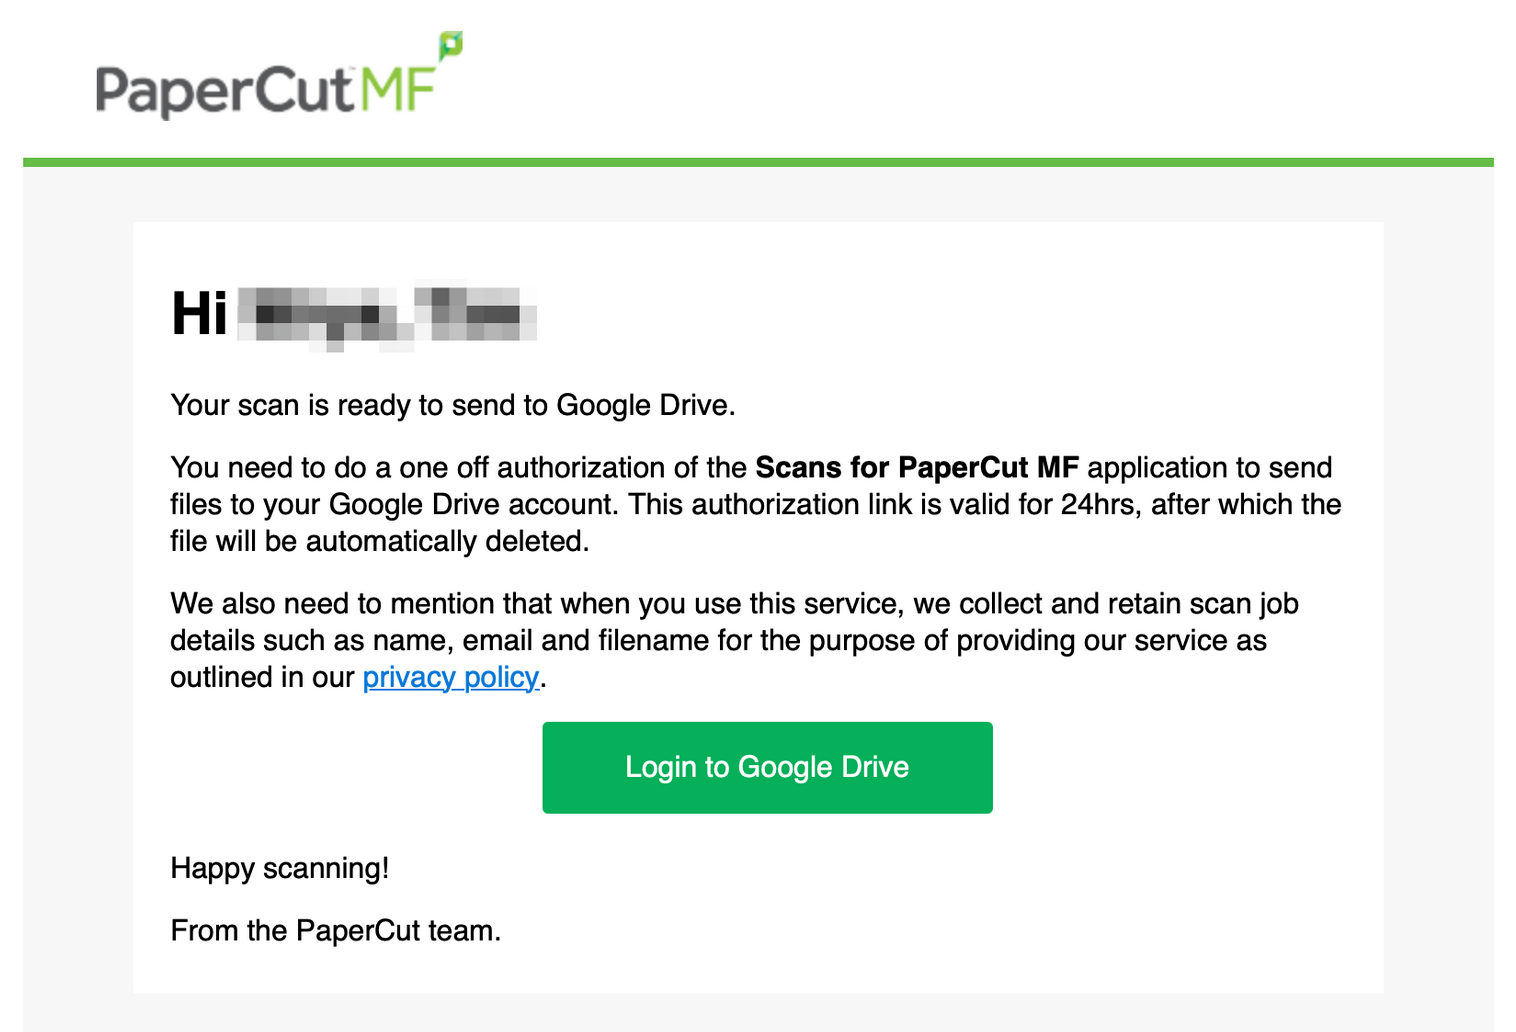
The first time you scan to Google Drive, you will receive an email from PaperCut asking you to make the connection to your Highline account to be able to send your scans. The email will come from scans@papercut.com, and you should verify that the link is going to https://scan.us.cloud.papercut.com/
Log in with your Highline credentials.
You will only need to authorize this connection once.
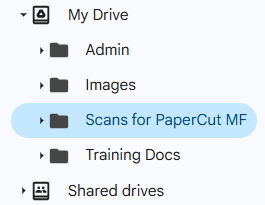
After you have authorized the connection, your scans will be placed in your ‘My Drive’ in a folder that is automatically generated, named ‘Scans for PaperCut MF’
Step 4: ‘Send to OneDrive’ Option
If you choose to scan to your Highline OneDrive, the default filename will be “scan_” plus your username and the date and time. You can edit the ‘Subject’ or ‘Filename’ if you choose.

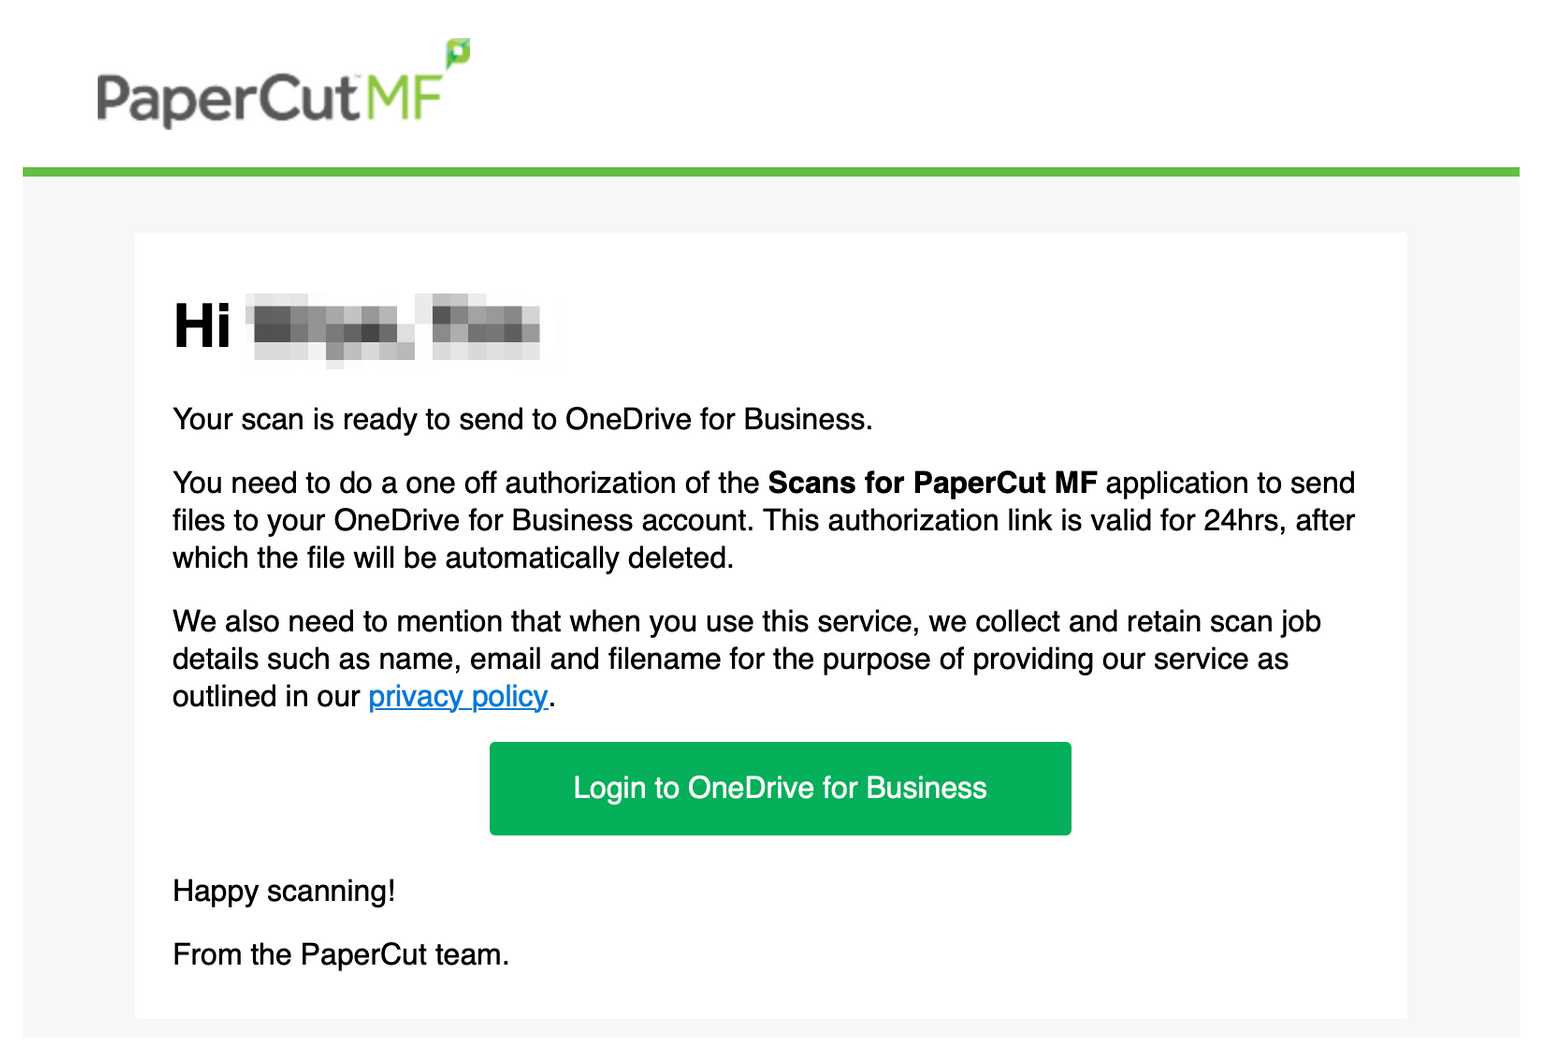
The first time you scan to OneDrive, you will receive an email from PaperCut asking you to make the connection to your Highline account to be able to send your scans. The email will come from scans@papercut.com, and you should verify that the link is going to https://scan.us.cloud.papercut.com/
Log in with your Highline credentials. You will only need to authorize this connection once.
After you have authorized the connection, your scans will be placed in your OneDrive ‘Apps’ folder, in a folder called ‘Scans for PaperCut MF’

Step 5
When you are finished scanning:
Click the home button to return to the main screen.

Or the exit button to log off the device.

- Return to the Highline Printing Guide
Questions?
- Please contact the Help Desk.