
Watermark Tutorial
Student Notes
This tutorial covers creating student notes in Watermark; sending a message through a note; and viewing, editing, deleting, or commenting on notes.
- Return to the Faculty and Staff Guide to Watermark
Creating Student Notes
Step 1
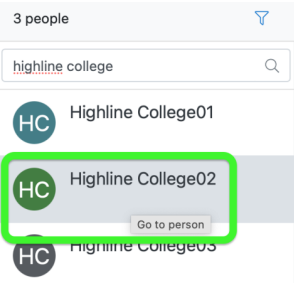
Starting from a student’s profile:
Select the student you want to add a note to. You can search or select from your Caseload.
Step 2
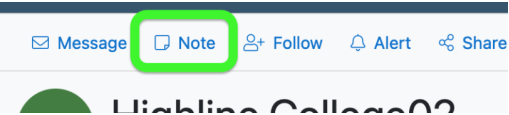
Above the student’s name, in the right-most column of the screen, click ‘Note.’
Step 3
Click the Note Type(s) drop down menu and select a Note Type.
- Note type will help other members of the student’s team filter the list of notes.
- Almost all types of notes are visible to staff and faculty. (Some are confidential, e.g. Financial Aid.)

Step 4
Type the text of your note in the large text box.
- Important: Avoid private/personal information in Notes, as they are widely visible across campus.
- Important: While students aren’t able to see notes directly in Aviso, they can request them as part of their student record. Notes should be written as though the student will see them.
Step 5
Click ‘Save’ when you are done.
Creating a Student Message from a Note
A Message to a student can be automatically added to the Notes for that student.
- Pro tip: This is a great way to summarize what you discussed with the student, remind them of any tasks they need to complete, and give them a record of the conversation.
Step 1
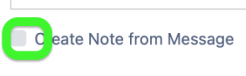
While creating a message, click the ‘Create Note from Message’ option below the text for that message.
Step 2
Below the check box, a ‘Note Type’ selection will appear. Select the Note Type you need.

Step 3
Click ‘Send.’ When you do, the message will be sent to the student, and a note will be created from the message text.
Viewing, Editing, Deleting, or Commenting on Notes
Viewing Notes
To view notes for a student, go to their profile and click on the ‘Notes’ link underneath the student’s name (as explained in Steps 1-2 of the ‘Creating Student Notes’ section above).
Editing, Deleting, or Commenting on a Note
Notes can be edited for 30 minutes after you submit them. After that, they cannot be changed. If you need to make a change to a note after that time period, add the new information to a Comment beneath the note.
Questions?
- Please contact the Help Desk.