
Okta
myHighline MFA Setup
myHighline is your student account just for Highline College. This guide is to help you manage your security settings to protect your personal information, using the Okta Multi-Factor Authentication (MFA) system.
- New students: Make sure you have already activated your myHighline Student Account.
Remember, you can always contact the ITS Help Desk if you need any assistance.
Instructions
Note: Images may vary based on your device and settings.
Step 1
First, you will need to have one or more Authentication Methods set up, which provides security for your account and the whole college. Check out the Multi-Factor Authentication (MFA) Guide for an explanation of what MFA is and why it matters, as well as definitions of key terms (such as the difference between ‘Authentication Factors’ and ‘Authentication Methods’).
There are links to the recommended security apps for you to choose from (we recommend the Okta Verify App).
After you have downloaded or acquired one or more of the Authentication Methods available, you can connect them to your myHighline account.
Step 2
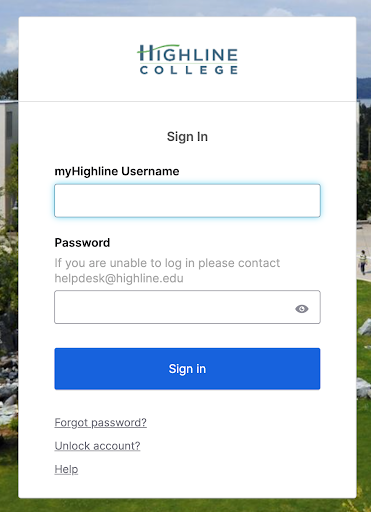
Log in to the Highline MyApps Dashboard with your myHighline username and password. You may be asked to verify your identity with a security method that was already put in place.
Step 3
Once in the portal, left click on your name in the top right corner, and select ‘Settings’ from the drop-down menu to open your account page.

Step 4
Your account page will load. Under the ‘Security Methods’ section, you can see what is currently set up, and you can choose to set up other methods. It is recommended you have your phone number up to date, and connect Okta Verify at the least. Do not rely on security questions or email.

More Resources:
Questions?
- Please contact the Help Desk.