
Okta
Authentication Method: Okta Verify App
These instructions will show you how to connect the Okta Verify app with your Highline accounts.
What is Okta Verify?
The Okta Verify app is one of the Multi-Factor Authentication methods available for verifying your identity in order to access your Highline tools and websites. It works by sending a push notification to the phone number you set up, allowing you to permit or deny the request for access. This works for most of your key Highline student tools.
- See also: Guide to Okta
Instructions: Set Up Okta Verify with your Highline Accounts
Step 1
Install Okta Verify on your Mobile Device:
Step 2
Go to Highline’s MyApps Dashboard.
Sign in with your Highline username and password, and click the ‘Sign In’ button.

Step 3
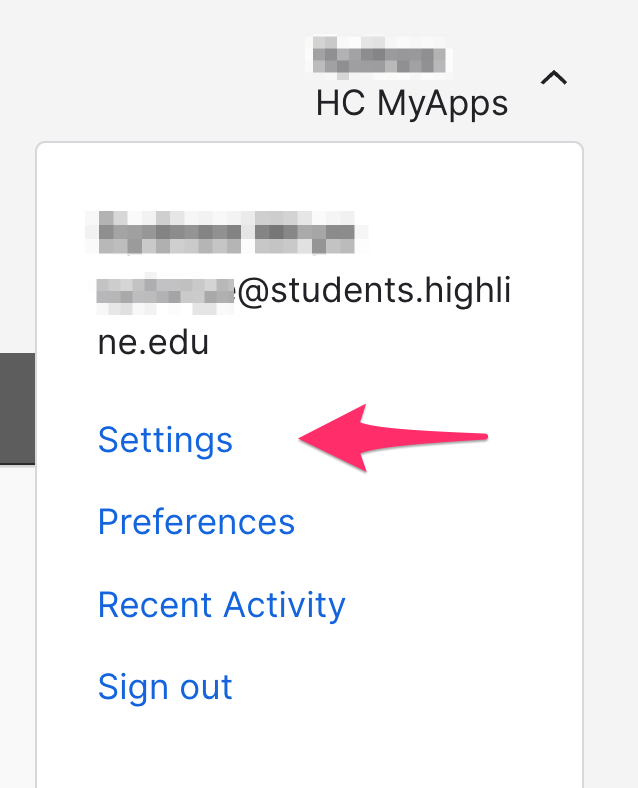
Go to your user settings by clicking the dropdown menu in the upper right corner of the dashboard by your name.
Step 4
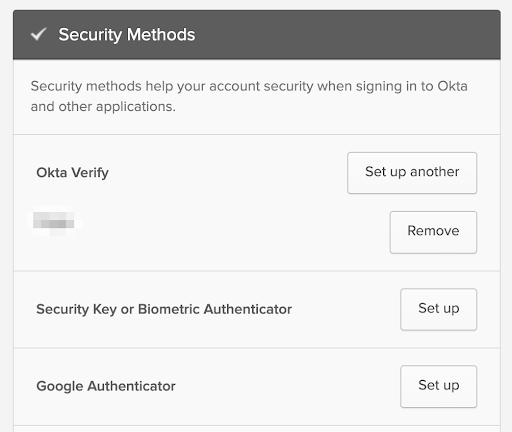
In ‘Settings,’ go to the ‘Security Methods’ section and choose Okta Verify, by clicking either ‘Set up’ or ‘Set up another.’ You will be asked to authenticate with an existing MFA method and/or your password.
Step 5
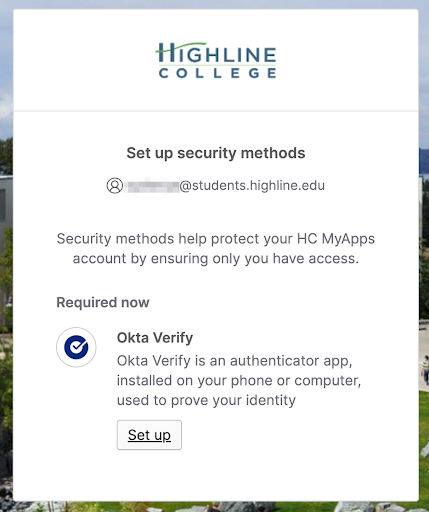
In the ‘Set up’ dialog box for Okta Verify, click ‘Set up’ to confirm.
Step 6
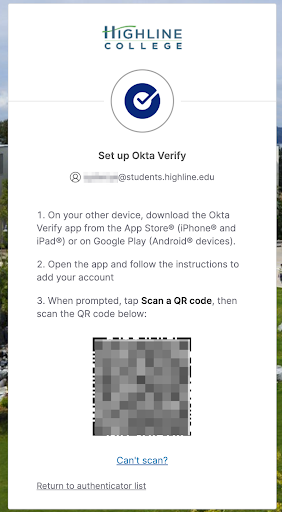
A new screen will display a QR code.
Step 7
On your mobile device, open the Okta Verify app you installed in Step 1. Click the plus sign + at the top right to add an account.

Step 8
On the next page, choose ‘Organization (Work, school, company)’ for the account type.
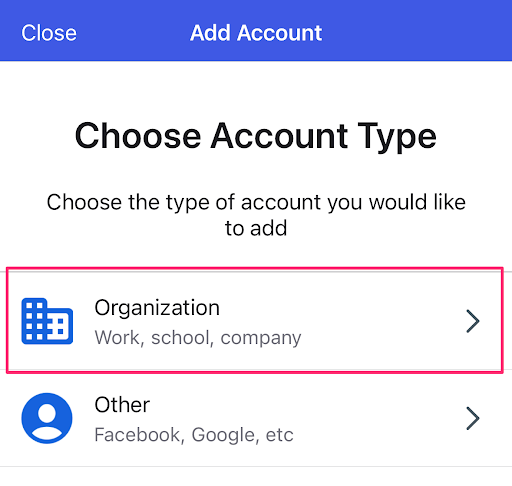
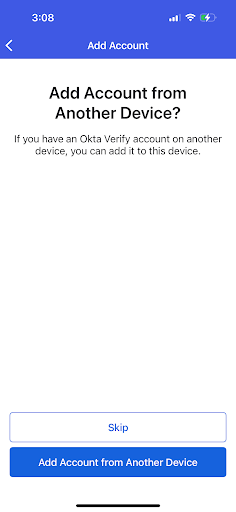
You will be asked if you want to add an account from another device; choose ‘Skip.’
Step 9
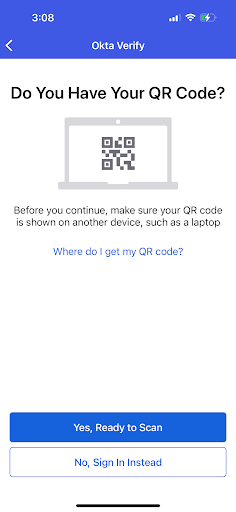
The next page will ask “Do You Have Your QR Code.” This is the QR code from Step 6 in your MyApps security setup on your computer. Select ‘Yes, Ready to Scan,’ and scan the QR code on your computer screen.
Note: If you are unable to scan the QR code, you can choose “No, Sign In Instead” and log in with your myHighline username and password to add your account. If you choose to do this, use myapps.highline.edu when it asks for your organization’s sign-in URL.
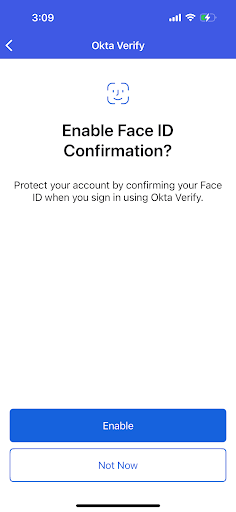
Step 10
After your account is added, if you have biometric protection on your device such as Face ID or fingerprint protection, you will be asked if you would like to enable it for Okta Verify. This is recommended but not required.
Step 11
Your account is now added to Okta Verify, and will show up in your Okta Verify app. You will receive a pop-up notification on your mobile device for Push requests, or you may tap the eye icon in the app to view a one-time-password code if needed.

Step 12
On a browser where you have previously used SMS to receive a code, you can switch your method to Okta Verify by choosing “Verify with something else” at the bottom of the sign in box.
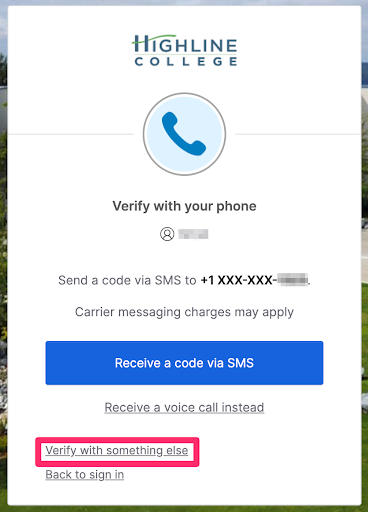
On the next screen, click the ‘Select’ button next to “Get a push notification; Okta Verify.”

Questions?
- Please contact the Help Desk.